Wax Flowers DIY Tutorial
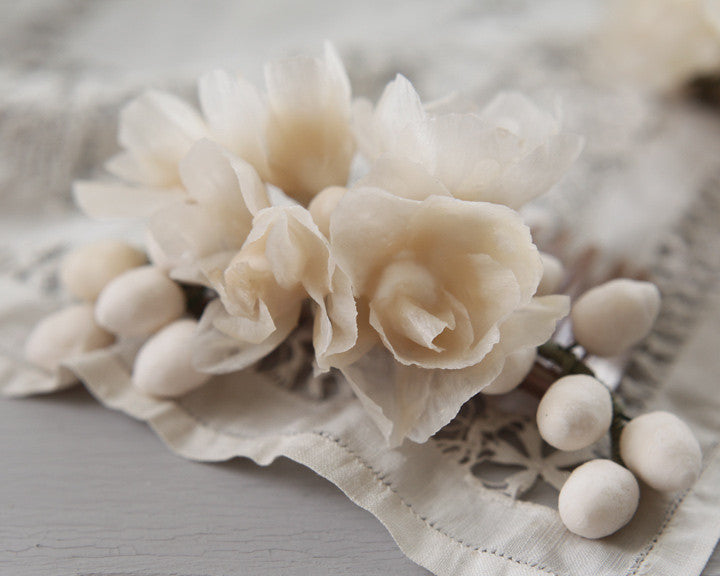
In this tutorial I'm making DIY wax flowers with a romantic Victorian look to them. The buds are made of spun cotton, and the wax-dipped flowers are crepe paper. You need to make the paper flowers ahead of time, and the instructions for making them are here.
You can use a double boiler for melting the wax, or you can use a candle-powered melter like the one I'm using here. It's important to use real beeswax, and not paraffin or soy waxes as they can make the flowers brittle and crumbly.
Supplies:
- 12mm Spun Cotton eggs
- 24 gauge floral wire
- Beeswax sheets or small bits of beeswax candles
- Wax melter
- Styrofoam block
Step 1: Prepare
To make the buds, dip the tip of floral wire in white glue, and insert into a 12mm spun cotton egg. Let dry before doing the wax-dip. The flowers you should make ahead of time. Instructions are here.
Step 2: Melt Beeswax
To begin the wax process, melt a few bits of sheet wax in the melter. Wait until the wax has melted completely before dipping.
Step 3: Dip Spun Cotton Buds
Turn the buds while dipping in the wax, and continue turning them as you remove them, allowing any drips to come off. Insert the wires into a styrofoam block, and allow the wax to harden. The spun cotton will absorb some wax, so if you like, you can repeat this step to make a more opaque coating of wax on the buds.
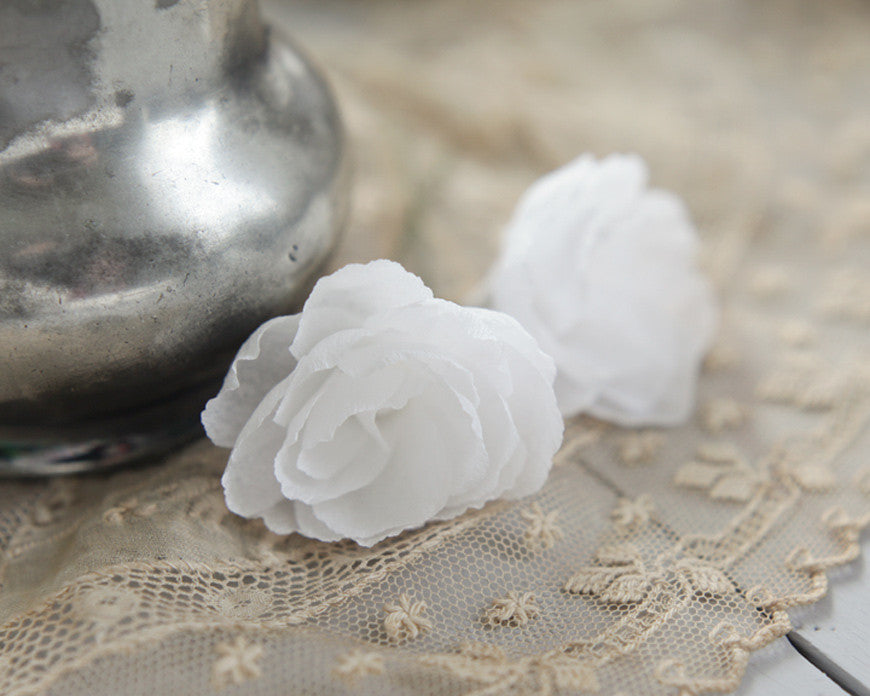
Step 4: Dip Crepe Paper Flower
Bend the tip of a piece of floral wire into a loop. You will use this as a tool to shape the wax flower. Hold it in one hand, and with the other hand dip the flower into the wax using a scooping motion. Turn the flower to coat all sides, and make sure you have gotten wax into the center of the flower.
Step 5: Use wire to separate petals
With the wire tool, open the flower, and separate the petals. Release any areas of trapped wax, and shake the flower gently to remove drips. Work quickly, as the wax begins to set up immediately. You have a small window of time to shape the flower - whether you prefer it open wide, or cup-shaped. Stick the flower's stem into the styrofoam block so that it can cool and harden.
You can do a second dip on flowers, just like the buds. A double-dip will make a harder flower, but with fewer details.
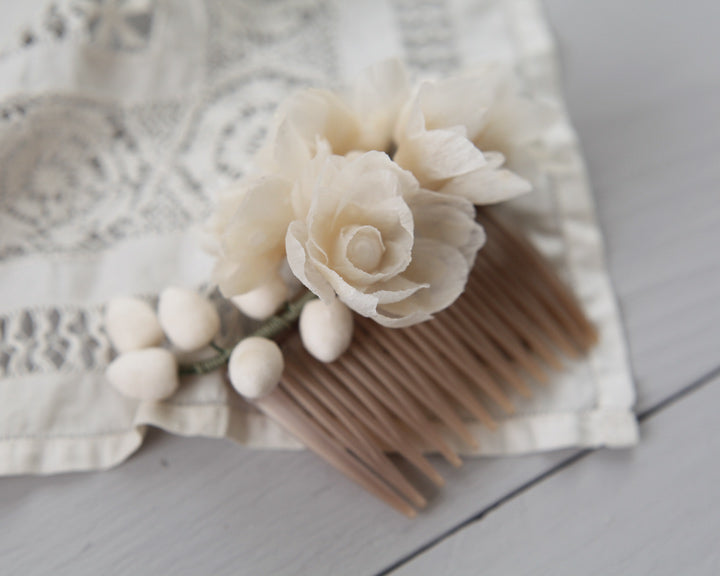
These flowers can be incorporated into bridal tiaras or fancy hair combs. See how to wrap them together into millinery picks here.