Tutorial: Spun Cotton Quail Eggs
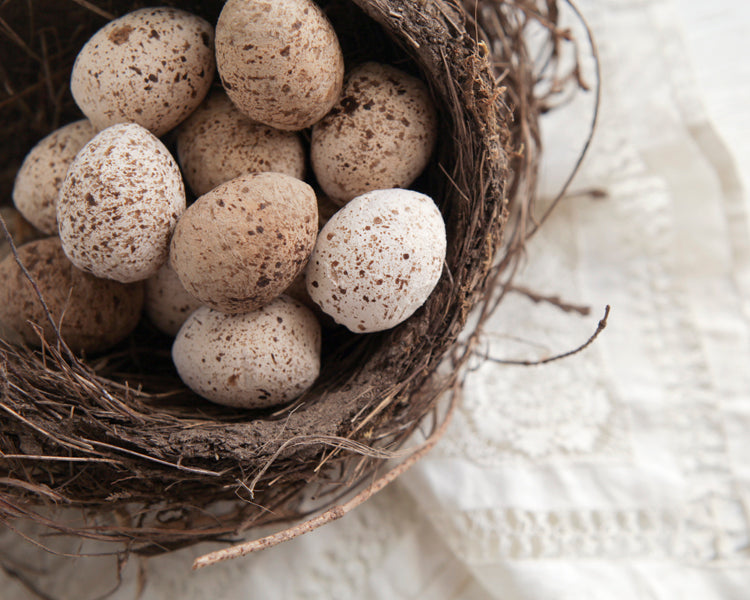
I love the look of quail eggs, and I love all things made of spun cotton, so here I'm combining the two! These spun cotton quail eggs would make the most wonderful spring decorations. They would be lovely strewn down the center of an Easter table, incorporated into wreaths, or just piled up in an old tarnished silver bowl. Also, they're super easy! I sell the plain spun cotton eggs in my shop, so all you have to do is paint them.
Supplies:
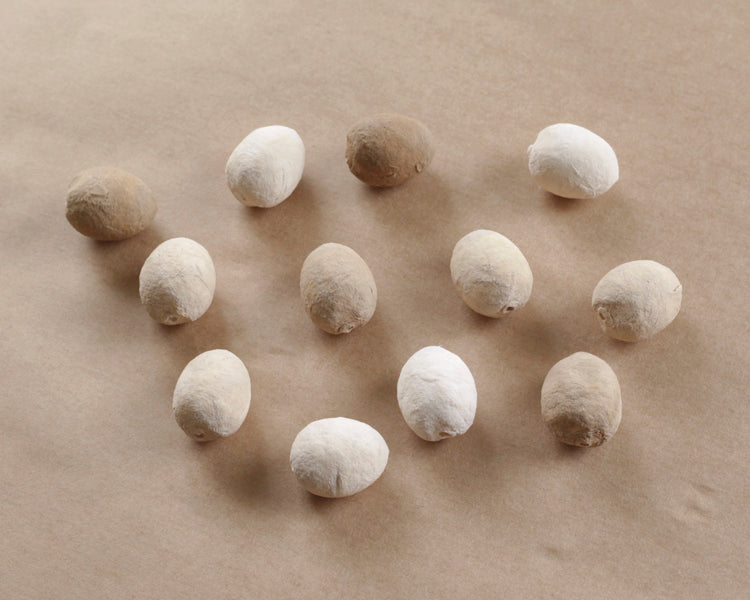
- 30mm Spun cotton eggs
- dark brown acrylic craft paint (I used Raw Umber)
- white craft paint
- soft medium-sized paint brush
- old toothbrush
- toothpicks or bamboo skewers
- styrofoam block or cardboard box to use as a drying stand
- water and plate for mixing

Step 1: Set out some dobs of paint on a plate or palette. The brown you use should be dark, and kind of chocolate toned. I'm using a Raw Umber shade. Use your brush to add a very small amount of brown to some white, and mix to make a light oatmeal color. Remember that acrylic paints dry a bit darker, so mix on the lighter side.

Step 2: Add some water to the mixed color, to the consistency of skim milk. You want this mix to be watery, but not translucent.

Step 3: The spun cotton eggs come with a little hole at the wide end, so use this to mount the eggs on toothpicks or slender bamboo bbq skewers.

Step 4: Load up your paint brush with the mixed paint. Hold the paint brush steady, and spin the egg to coat it in paint. Some paint will soak in to the cotton, so you may need to re-load your brush to coat it completely. Stick the picks into a block of styrofoam or a little cardboard box to dry.

Step 5: Quail eggs are wonderful because each one is unique. Their colors are varied, some being super light ivory, and some being a darker tan color. As you paint each egg, change up the mix of your paint, to make some eggs lighter and some darker. You want a nice mix like this:

Step 6: Let the eggs dry for at least 10 minutes. They don't need to be totally dry to move on to the next step, but they should be dry enough to handle. The next step is speckling the eggs which can be a little messy. Either do it outside, or set some kraft paper in the bathtub to contain the paint and make clean-up simple.
Step 7: This time use just the brown paint. Mix in just a couple drops of water to make the paint the consistency of chocolate sauce.

Step 8: You can speckle using a paintbrush, but the absolute best tool is an old toothbrush. Use your finger on the bristles to gently flick the paint mixture at the eggs. Turn them carefully to speckle all sides. I like the delicate specks, but if you want bolder spots just add them afterward with a small paintbrush.

Let dry.

And there they are! Springtime pretties.
