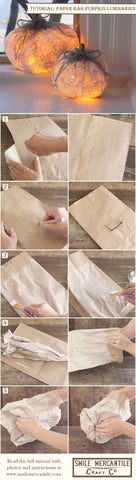
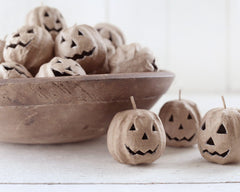
Tutorial: Paper Pumpkin Luminary Halloween Decorations
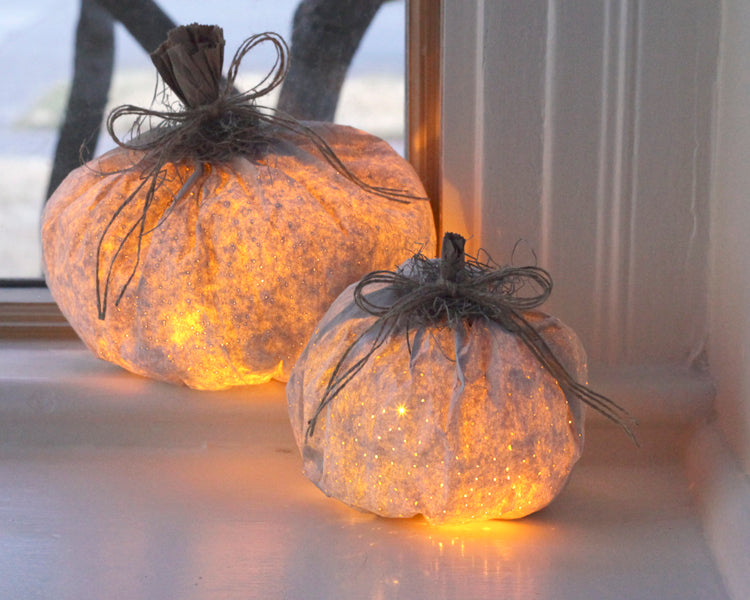
During the daytime, these paper bag pumpkin luminaries make great halloween decorations with their neutral colors and rustic textures. At night though, they take on a whole different look, flickering, shimmering, and lighting dark corners with a burning orange glow. And, yep, they're just made out of everyday brown paper bags!
The paper bags I am using are "20 lb. squat" size bags found at the restaurant supply store, measuring 8 1/2 x 14 inches flat. You want bags at least a little larger than a lunch sack (so you have enough room inside to work with,) but not quite as large as a grocery bag. Bigger sacks would work with this technique, but you'd probably need to use a more powerful light source than the LED flameless candles I'm using here. For a large pumpkin, you could just as easily use a string of LED Christmas lights with the plug coming out the back. (And I think that would look stunning! Please try it!)
supplies:
- Paper bag
- White acrylic craft paint
- Pushpin or large straight pin
- Styrofoam block
- 2 rubber bands
- 5 LED flameless tea light candles
- Jute twine
- Spanish moss or excelsior
- Hair dryer (optional)
- Paintbrush
- Paint bowl
- Craft knife
- Hot glue glun
- Hot glue stick
Step 1: Set your flat paper bag over the styrofoam block, and use a pushpin to poke little holes through the bag in a random pattern. You can also use a straight pin, or even a skinny awl. Poke the holes all over the bag, except for the first 3 or 4 inches down from the top. The top of the bag will be your pumpkin stem, so that section doesn't need holes. These pinholes will make your pumpkin shimmer, almost like stars in the night sky. You can punch a few bigger holes here and there if you want, just to let more bright light through.
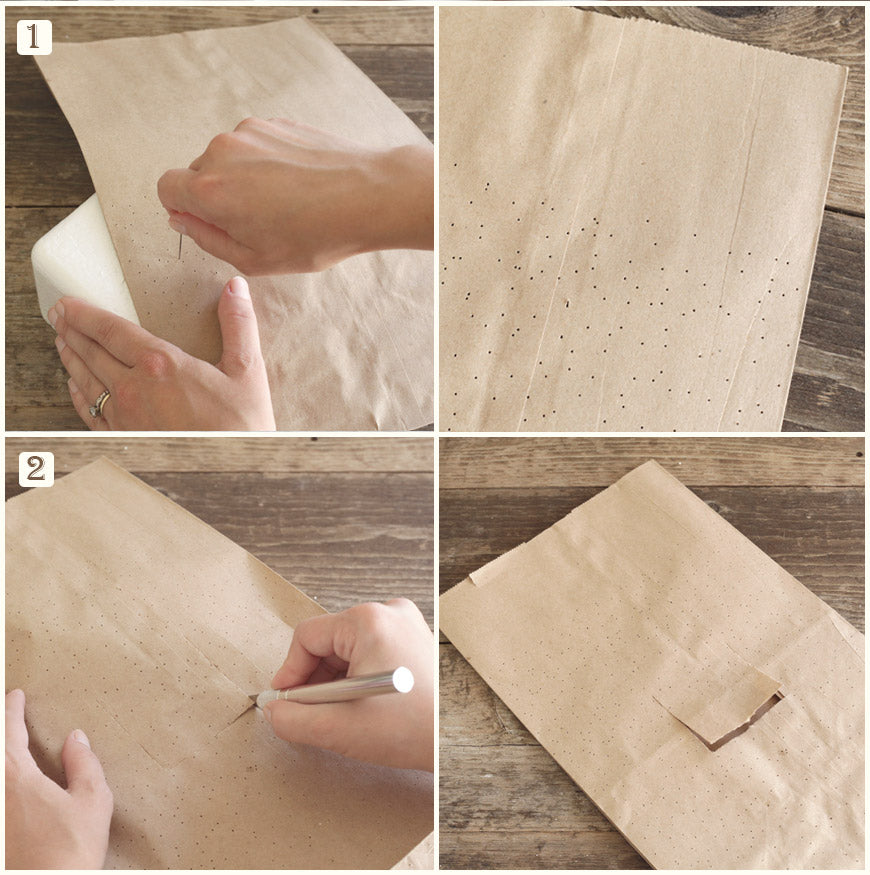
Step 2: Slip the styrofoam block inside the bag, and use a sharp knife blade to cut a square flap in the center of one side of the bag. The flap needs to be just large enough to fit your fist through. For me, this meant cutting a flap about 2 3/4 inches square.
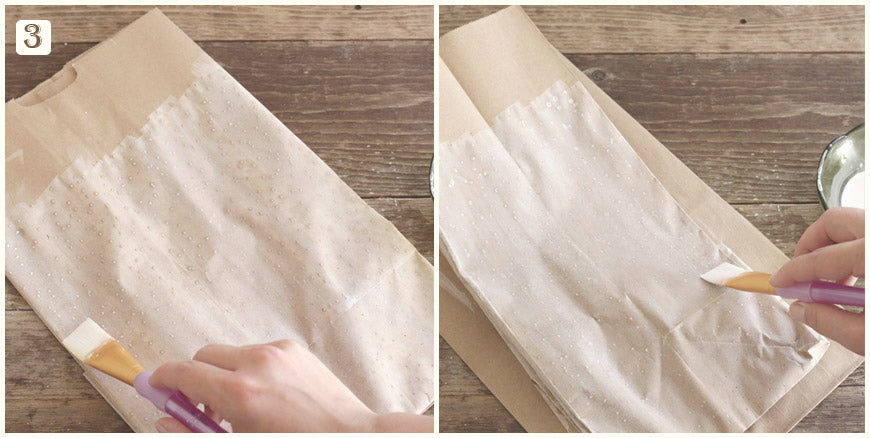
Step 3: Mix some white acrylic craft paint half and half with water to make a runny paint wash. Paint the bag in vertical strokes, excluding the area 3-4 inches down from the top. Flip the bag over, and paint the other side. Unfold and refold in order to paint the sides, and also the bottom of the bag. So now the whole bag should be painted, except for that band around the top.
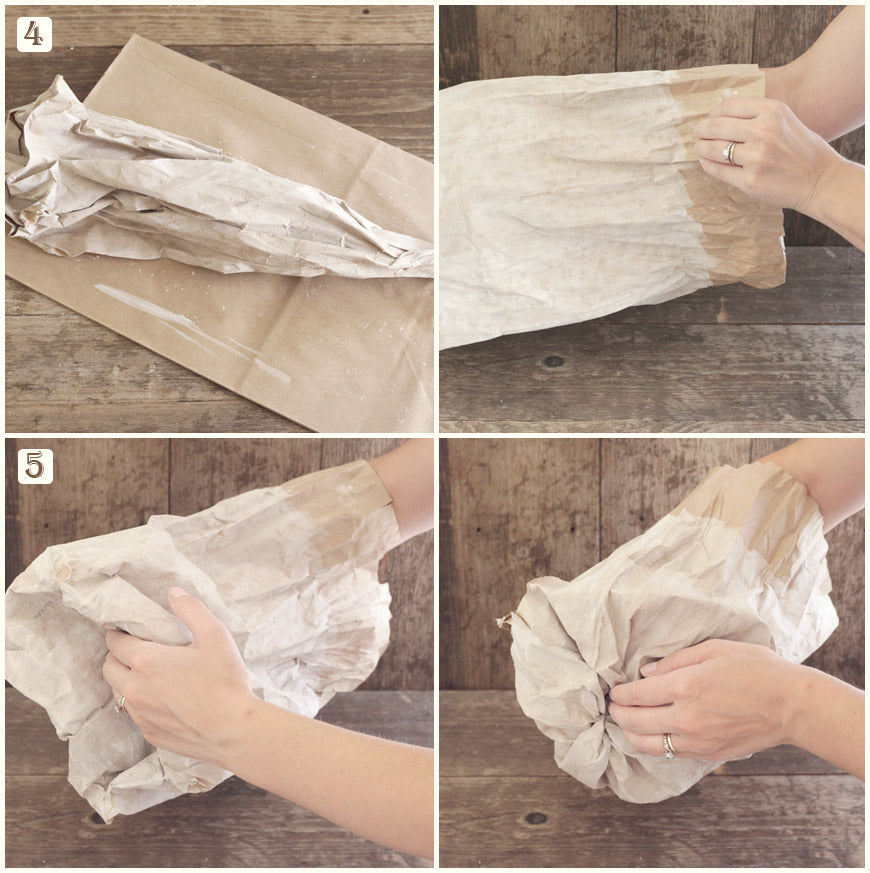
Step 4: While the paint is still a little damp, crumple it, and even twist it slightly to give it texture. Go ahead, get messy.
Step 5: Again, while the paint is still damp, open it up and stick your arm inside. Make an "O" shape with the hand inside the bag, and use your outside hand to begin pushing the bottom of the sack inward. Press the corners of the bag into your inside fist, gathering the entire bottom of the bag inside.
Step 6: With the inside hand, grasp the bottom of the bag firmly, and secure it with a rubber band. It should look like a little ponytail inside the bag.
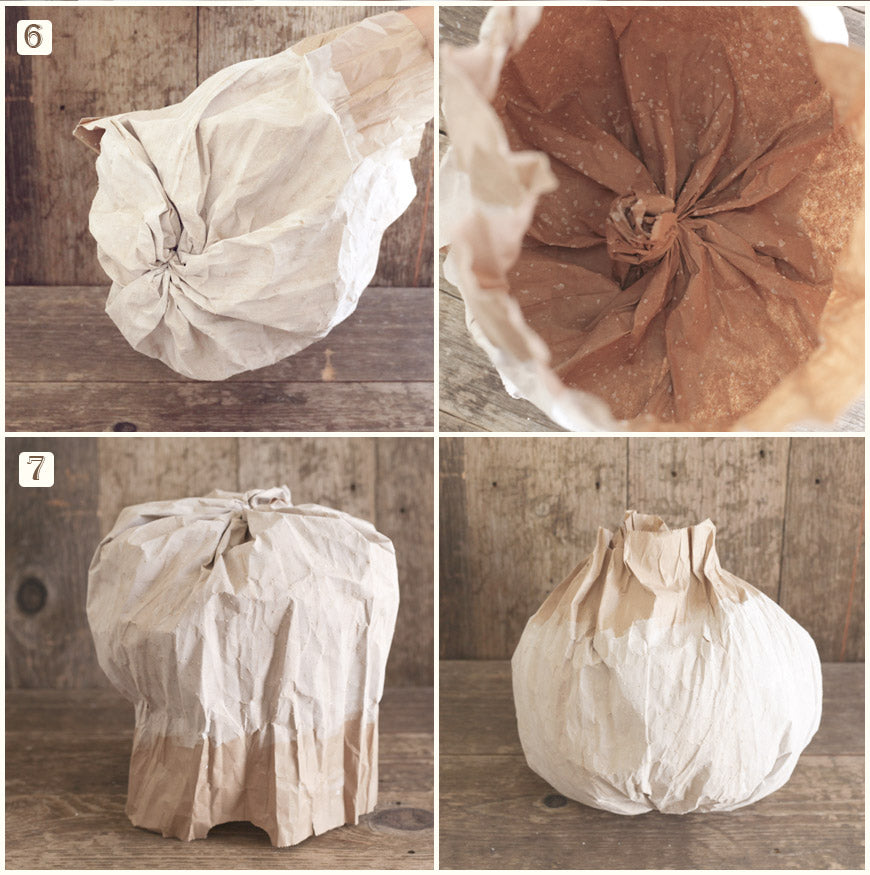
Step 7: Now you have two ways of rounding out the pumpkin shape: one is to set the bag upside down on its open top, and allow it to dry. Once it's dry you can use your hands to shape it. The other method, which works great if you really want to get this show on the road, is to use a hairdryer. Do this by gathering the top of the bag around the nozzle of the hairdryer, and give it a good hot blast of air for about a minute. It will round out the bag for you, and dry it in seconds.
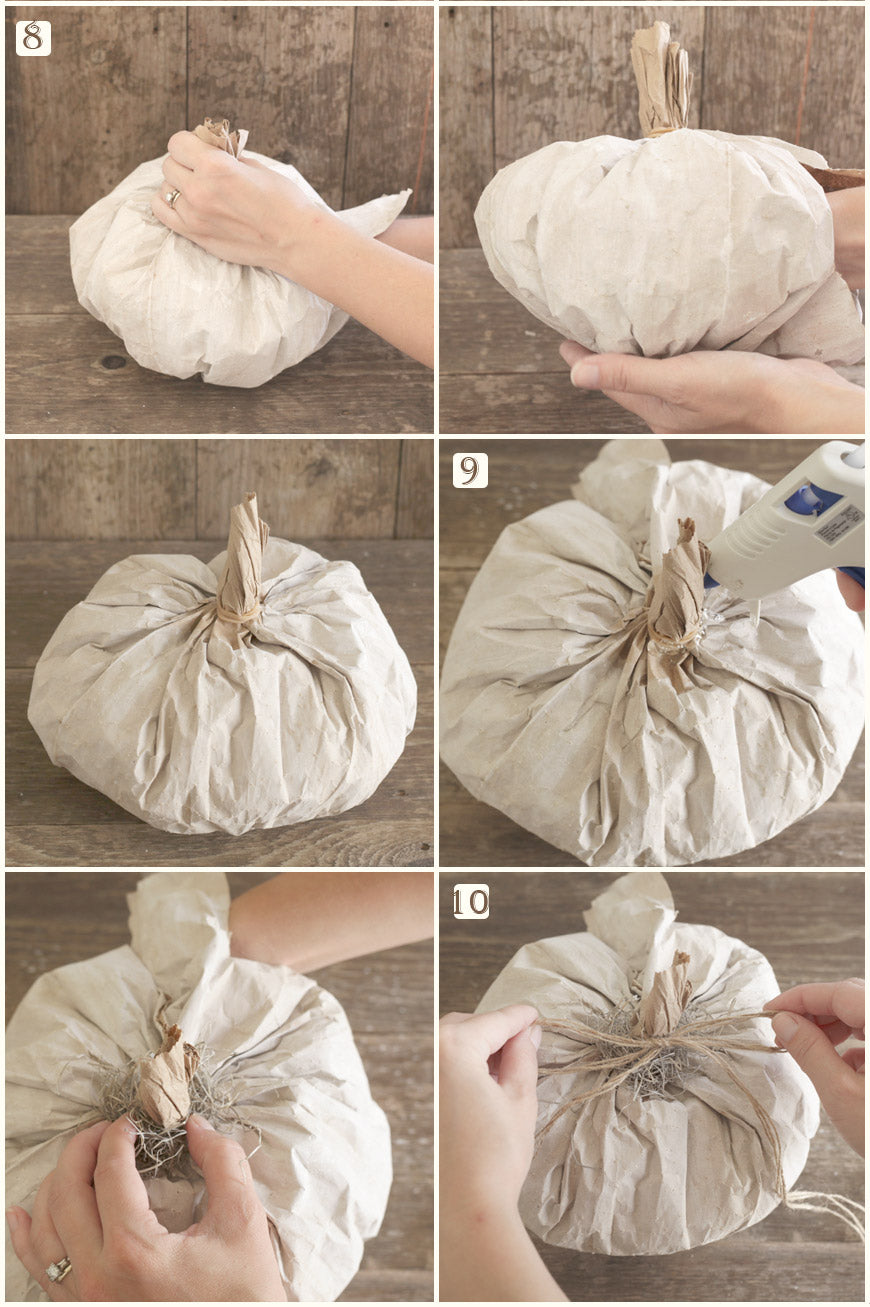
Step 8: Stick your hand in the dry bag, and use your other hand to crunch the opening of the bag around your wrist to form gathers. Rubber band the top, right around the line where the paint starts to make the stem. Stick your hand in through the trapdoor flap you cut, and use your fingers to round out the top of the pumpkin, and smooth the wrinkles around its midsection, perfecting that pumpkin shape.
Yay! That looks great! So now you can decorate the pumpkin.
Step 9: Heat up your glue gun, and use it to add a collar of Spanish moss or excelsior.
Step 10: Cut a length of rustic jute twine, and tie a bow.
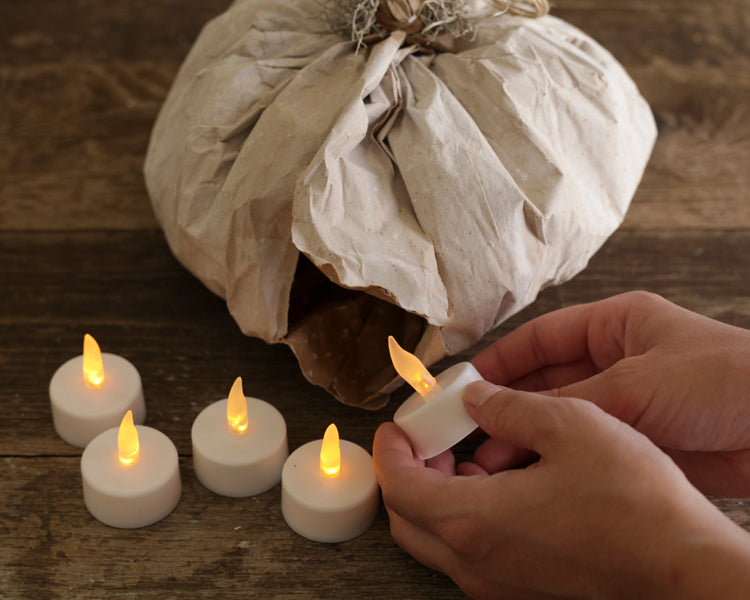
Light the pumpkin:
For a pumpkin this size, I'm using 5 LED tealight candles. They make these neat flameless candles in a variety of shapes and sizes, so you can use more or less to make the pumpkin as bright as you'd like it. By using several candles, you'll get a really fabulous flickering effect. Cluster them in the front section of the pumpkin to get the best light. Push down the trapdoor, and you're all set! Set these on a windowsill, and your halloween decorations are sure to delight!

Love it? Share it! Pin:
Visit the Shop for other Halloween goodies:


