Retro Spun Cotton Birds

These adorable retro spun cotton birds were inspired by some Christmas ornaments that were made in Japan in the 1950s. I've sold a bunch of them, and they often came in blue, teal, and white. The old glitter, which was originally a sparkly silver, is almost always tarnished to a peppery black. Some of the old birds were made of paper mache, while others were spun cotton, and some were a combination of both materials. They have these blocky chipboard wings and tails that came in various shapes. I just think they're so cute! Here are some of my vintage ones:
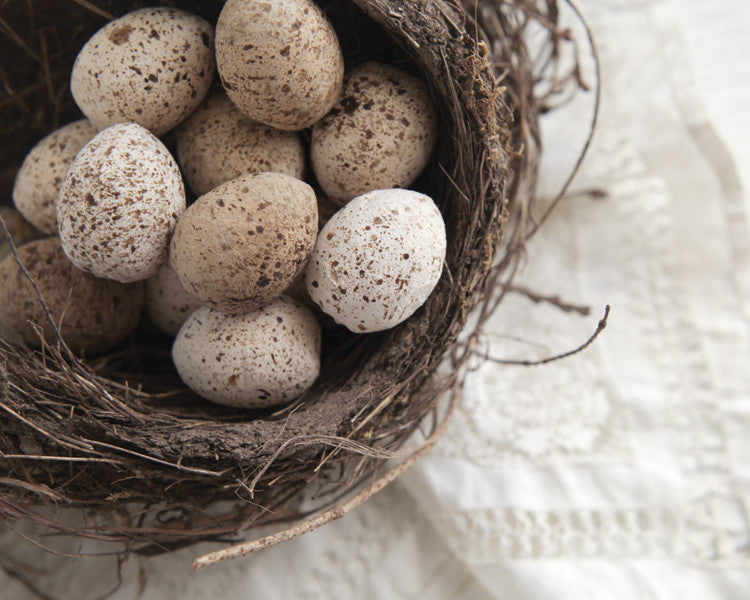
Cute, right? So the ones I'm making today are a little smaller so they can be clustered into nests or egg dioramas. Each bird is made out of a spun cotton egg, and a spun cotton ball, and chipboard shapes. I carry the spun cotton pieces in my shop. You don't need to buy special chipboard - the back of a notepad or thin-walled box will do the trick.
Materials needed:
- Spun Cotton Egg - This size/style has been discontinued. 36mm and 40mm are the next closest sizes.
- 20mm Spun Cotton Ball
- chipboard
- ruler
- xacto knife
- heavy duty scissors
- awl or skewer
- blue paint, black paint
- paint brush
- pencil
- silver glitter, black glitter
- glue gun with glue stick
- white glue
- a couple toothpicks cut in half
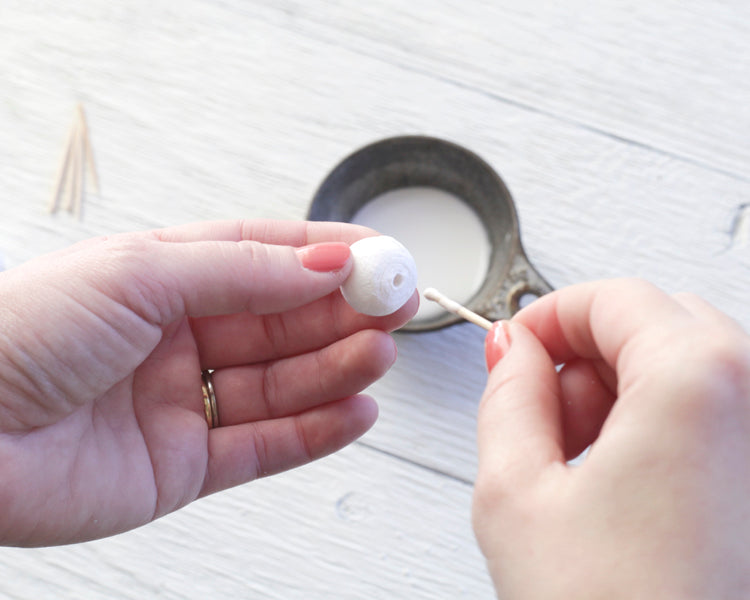
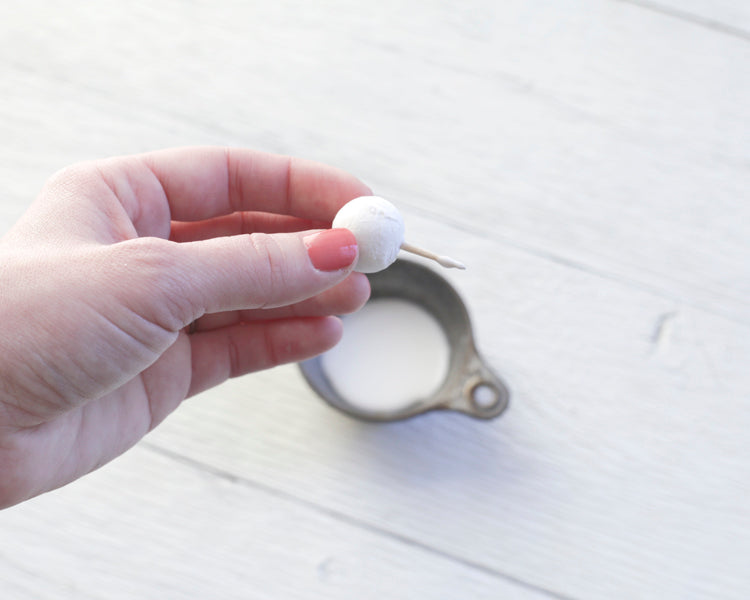
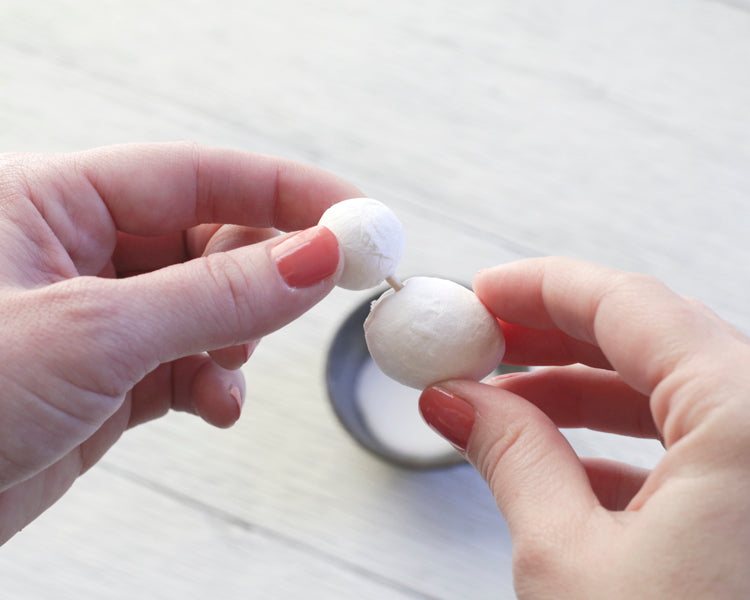
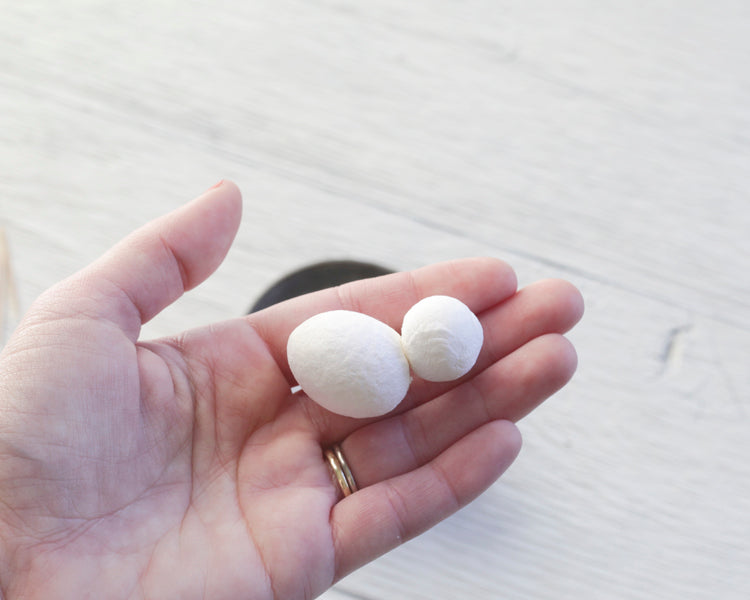
Step 1: First step is to connect the head to the body. Use an awl or a skewer to poke a little hole into the top of the wide end of the spun cotton egg. Take a 3/4 inch piece of a toothpick and dip one end in glue. The spun cotton ball already has a hole in one side, so just insert the toothpick into the ball. Then dip the other end of the toothpick in glue, and insert it into the hole you poked in the egg. 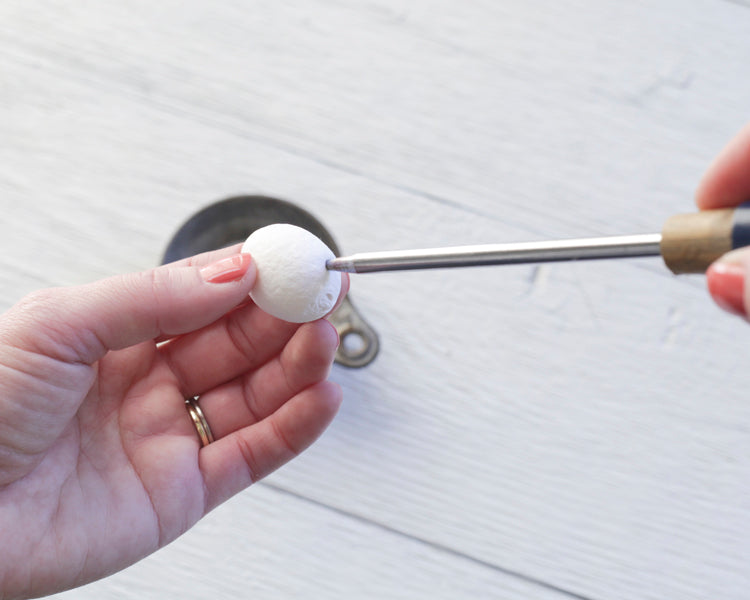
 Step 2: Use a very sharp xacto knife to cut a slot in either side of the body, starting just behind the head. Use a gentle sawing motion to avoid cutting yourself.
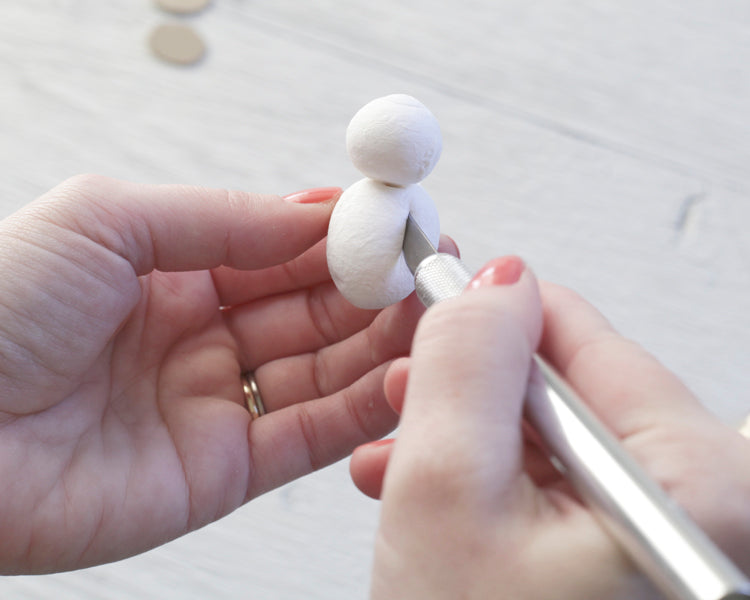
 Cut a third slot across the rear of the bird. This is where his tail will go.
  Wiggle the knife back and forth a bit to make the slots open up a bit. Step 3: Now you'll cut out the wings and tail. For the wings, you'll need to cut out two ovals, measuring roughly 7/8 x 5/8 inch.
  Next, cut out the tail. Start by cutting out a triangle, about 1 x 1 inch, and then cut a "V" into one side. Round the tips kind of like a heart, and cut off the point of the triangle. Looks like this:
  Step 4: Take a wing, and dip one edge in glue. Fit it into the slot you cut in the back of the body, and angle it out a little. Repeat with the other wing.
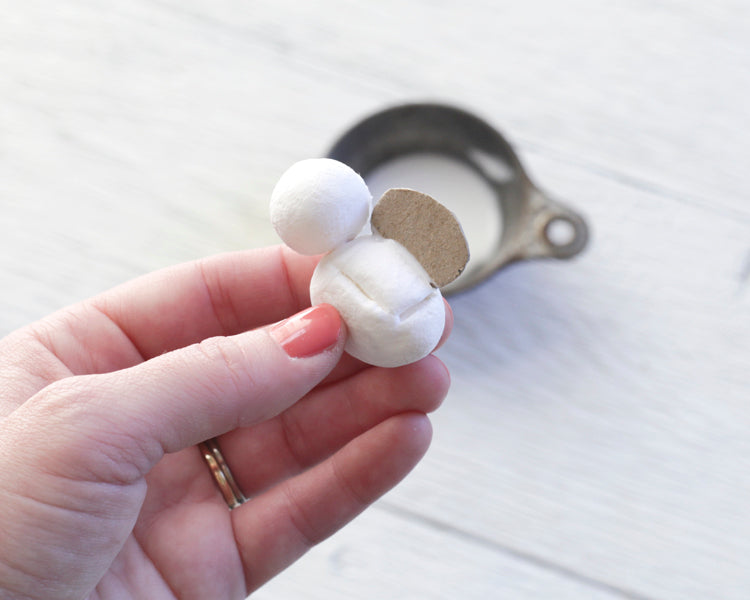 Do the same with the tail.
  Set the bird aside so you can work on the beak. Step 5: Using the straight edge of your ruler, slice down a length of chipboard, but don't cut all the way through.
  Then, use your scissors to cut a tiny triangle out, with the scored slice running right down the middle. This triangle should be about 3/8 x 3/8 inch.
 Cut out a second one. Then, bend both triangles along the scored slice to make the top and bottom of the beak.
  Use hot glue to affix each piece of the beak to the bird's head. I like to make the mouth nice and open, like he's singing a song or screaming for a worm.
 Yay! He looks like a real birdie now.
  Step 6: Paint the whole bird blue (or whatever color you like!) Let dry.
  Step 7: Using the flat end of a cut toothpick dipped in black paint, dot on some eyes. Let dry.
  Step 8: Make a custom glitter mix by mixing 1 part black glitter with 1 part silver glitter, like salt and pepper. Paint the top of the bird with glue. Take a tiny pinch of glitter, and ever-so-gently sprinkle the glitter over the bird. You want that paint to show through, so go easy with the glitter here.
 Let dry, and then glitter the underside of the bird. When he's all dry:
  Hi there, little fella!


 Make a whole bunch, they're fun!
  Cheep, cheep! Hope you enjoyed this project. As always, if you love it, share it!


