Paper Mache Easter Egg Diorama
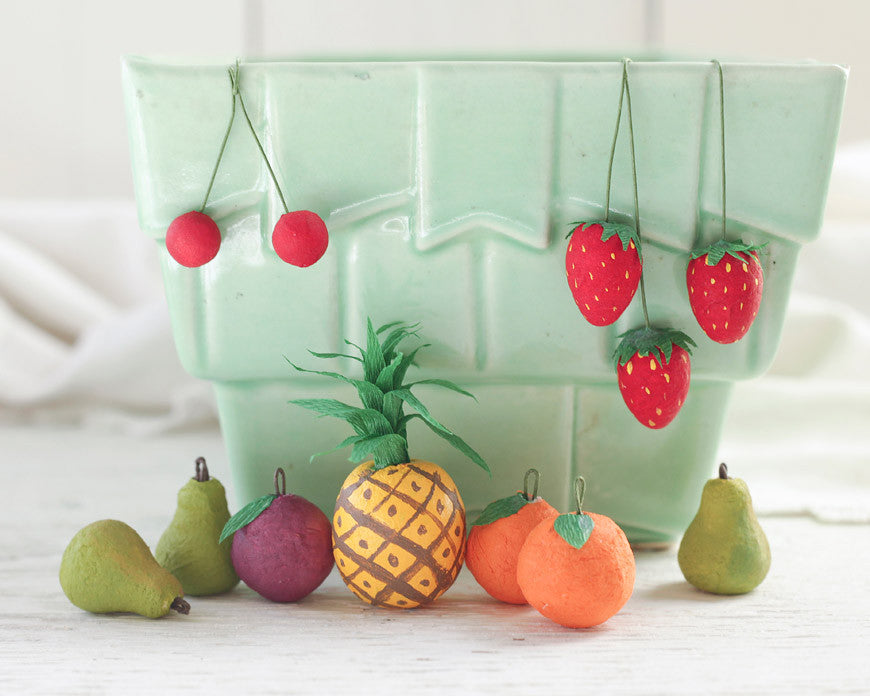
So I kind of feel like this is the year of the diorama. I'm pretty much obsessed with them at this point. This paper mache Easter egg diorama would make such a lovely display on a side table or buffet, and it would be the perfect place to showcase dyed eggs or candy. It's basically a giant version of these little ornament-sized ones I sell in my shop. It takes 2 days to make because it does need to dry completely overnight before it can be decorated. Once made though, it really is pretty sturdy, and could be used year after year.
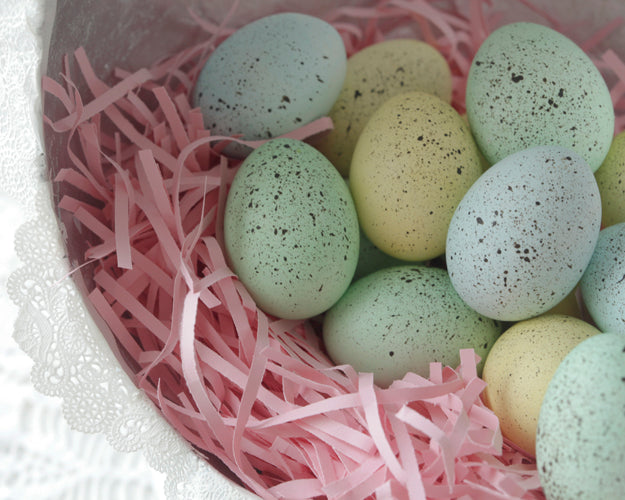
Decorating the finished egg is so much fun! You can use any embellishments you have around. I was going for sort of a 1950s look with lacy doilies, and vintage velvet ribbon on a pale blue background. This year I made some speckled pastel eggs, and they just look so darn sweet displayed here in a nest of shredded paper.
Supplies:
- Brown kraft paper
- 12-inch balloon
- white flour
- water
- bowl
- sharp heavy duty scissors
- pencil
- hot glue gun
- hot glue sticks
- velvet ribbon
- craft paint (one interior color, and one exterior color)
- small doilies (coaster size)
- decorative bowl or plant pot
- shredded paper
Step 1: Prepare everything: Blow up the balloon until it reaches the size you'd like your egg to be. Set the balloon on a bowl to act as a stand so that it doesn't roll around while you're trying to work with it. Mix up a batch of paper mache paste (flour + water, mixed a little thinner than pancake batter, without lumps.) Tear strips of kraft paper, roughly 2-4 inches wide, and up to about a foot long. I recommend kraft paper over newspaper because it takes fewer layers to produce a sturdy shape. The fewer layers you have, the shorter the drying time.

Step 2: I will assume you know the basics of paper mache. Essentially, you need to cover the entire balloon with a layer of strips applied in various directions, overlapping each other. Tip: avoid excess paste. Run each strip between your fingers to eliminate any globs before applying to the balloon. Work around the knot of the balloon at the top of the egg. Wrinkles are ok - just try to work out any air bubbles and flatten the wrinkles as much as you can. Once the entire balloon has been covered with a layer of paper, let it dry a bit before adding another layer. If you have the time, let it dry overnight between layers. I'm impatient, so I set mine across the room from a space heater for about 45 minutes to help it along before putting on my next layer.

Step 3: Add two more layers of paper mache, letting it dry at least partially between layers. After the third layer of paper mache has been applied, let the egg dry completely overnight. You'll know the egg is totally dry when you can knock on it and it has a hard, hollow sound.

Step 4: Set the egg on a bowl, and use a pencil to sketch where you'd like the opening to be. Draw and oval shape that mirrors the shape of the egg. Use a pin to pop the balloon, or simply cut off the knot to deflate it. With a sharp pair of heavy duty scissors, cut into the oval you've drawn on the front of the egg, and cut out that shape. Now you can remove the balloon remnants, and dust out the interior of the egg.


Step 5: Now you can paint it! Start with the inside. I chose silver for the inside of my egg to brighten things up, and reflect some light into the interior. Then do the outside. I was torn between pink and blue...went with a very pale blue.

Step 6: Once the paint has dried, use a glue gun to apply decorative ribbons to the outside of the egg gift-wrap style. Ric rac would look awesome too. These ribbons will cover the hole left at the top of the egg where the balloon knot was. Make a bow, and glue it to the top of the egg.


Step 7: Cut off sections of doilies, and fold them over the edge of the egg's opening, and hot glue them in place.


Step 8: Find a pretty bowl or plant pot to use as a pedestal, and set the egg on it. I decided to use one of my antique chamber pots for a stand. Fill the egg with shredded paper, excelsior or moss, and create your display.


So pretty!!


Love it? Share it!

