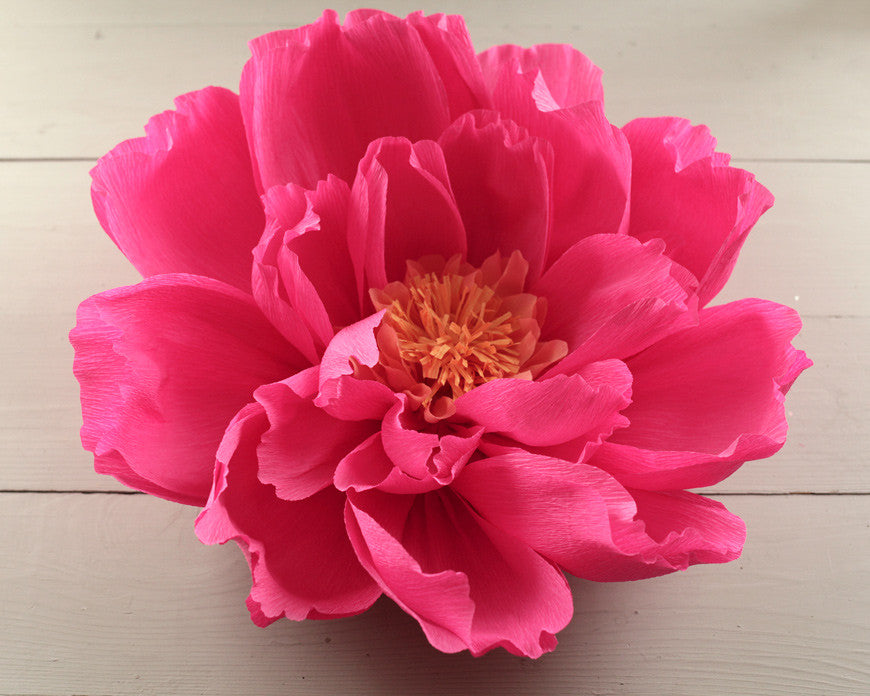
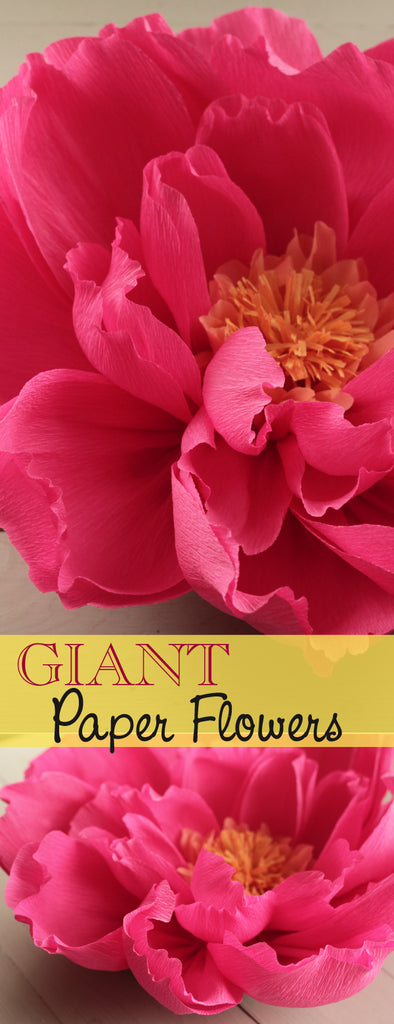
Giant Paper Flower for a DIY Wedding Backdrop - Craft Tutorial
- Italian crepe paper in outer petal color (1 roll per 18" flower)
- Regular crepe paper in inner petal color
- Any crepe paper in flower center color
- Scissors
- Hot glue gun (low temp) + glue sticks
- Chinet paper plate
Step 1: Unroll some of the Italian crepe paper, and cut a strip vertically with the grain as wide as you'd like your outer petals to be. Mine are about 7 1/2 inches wide. Fold the strip in half, against the grain.
Step 2: Cut out a petal shape with the fold at the bottom. You can choose any petal shape you like. We enjoyed making each flower different. Some had pointy petals, some were rounded, and some were frilly.
Step 3: Gather the petal at the base, and pinch to crease it. Release the gather, add a bead of hot glue, re-gather it, and hold it tight until the glue sets.
Step 4: Stretch the center of the petal away from you to make a cupped shape. Be gentle, and don't stretch the top edge of the petal. Use this method to make 8-10 petals - enough to go all the way around the plate.
Step 5: Apply the petals one by one to the paper plate, a couple inches in from the edge. Glue the back side of the petal to the plate, and hold it in place until it sets. Add the next petal, overlapping the last one slightly. Continue all the way around the plate.
Step 6: Now make 6-8 of the same type of petal, but in a slightly smaller size, approximately 5 1/2 inches wide, 7 inches long. Fold the ends of the petals upwards before applying them to the plate. This will help them stand up vertically. Apply these petals to the plate in a circle just inside the ring of outer petals.
Step 7: Cut a rectangle of crepe paper in a complementary color, roughly 6 inches tall. This can be regular crepe paper, or Italian, your choice. Fold with the grain of the paper several times until the fold is 2 - 2 1/2 inches wide. Then fold in half against the grain. With the fold at the bottom, cut out an oblong petal shape. Unfold, and you'll have a double ended petal. Stretch the centers of the petals away from you to make cupped shapes, and then bring both sides together, pinching the centers together. Make a good number of these- 15-20 of them perhaps.
Step 8: Glue these small petals around the inner circle of the flower. Let them be every which way. They don't need to be applied uniformly.
Step 9: To make the inner fringe, cut a long strip of crepe paper in yellow, or the center color of your choice. This should be roughly 4 x 20 inches- or so. Fold with the grain to a small, manageable rectangle. Cut about 2/3 of the way into the fold, making close cuts, about 1/8 inch wide. Unfold after cutting, and then roll up the fringe, tacking the end down with glue. Rough up the center fringe to make it a little messy, trim off the excess length of the stem, and glue it into the center of the flower.
Step 10: Stretch the edges of the outer petals back and forth to make the petals ruffled, kind of like making a pie crust.
If you choose to hang the flower up as part of a wedding backdrop or flower wall, you can pierce the paper plate to add a wire hanger. You will enjoy the Italian crepe paper for it's sturdiness, and it will hold up to being displayed vertically. Clustered together in fun colors, these crepe paper flowers are sure to impress!
PIN ME:

