How to Preserve Fall Leaves with Glycerin
 Through all my years of crafting, I'm surprised I never tried preserving fall leaves with glycerin before! So when the fall colors hit their peak here in the Pacific Northwest, I tried it out. The colors become softer and more jewel toned. The bright yellows go more mustard or beige, any bright greens leftover became more olive. The reds varied the most, with some keeping a bright ruby tone, while others had tinges of purple or brown. For me, maples fared the best, while aspen and birch became almost neutral. The glycerin bath can be reused a few times, so you can work through a good amount of leaves in batches.
As affiliates we earn from qualifying purchases.
Supplies:
- Large plastic container
- Collected leaves
- Vegetable glycerin
- Water and measuring cup
- Plastic tray
- Heavy dishes or weights
- Paper towels
Collecting leaves:
To make the most of the experiment I wanted to do a big batch with multiple species and colors, as well as using loose collected leaves, and small branches snipped from the trees themselves. I went to forage for leaves early in the day, and before the first frost. Frost will damage the structure of the leaves so they will not take up the glycerin. This was a warm autumn here, and I'm curious how the ambient temperature affects the results.
Glycerin mix:
For my container, I used a large 28 quart plastic storage tub. Vegetable glycerin can be found in small bottles at the drugstore or craft stores, but I went with this gallon jug so I could make a big batch. The glycerin is a gel that needs to be thinned with water so the leaves will soak it up, and I made my preparation with 1 part glycerin to 2 parts water. I ended up using about 3/4 of my gallon jug for this large container.
Set and forget:
Once I mixed my glycerin bath, I submerged all of the leaves. The container was full, but not packed. I placed a plastic tray on top, and weighed it down with a couple glass dishes filled with water. The leaves were submerged, but not flattened by the weight. I left them in the bath for 5 days.
Finishing:
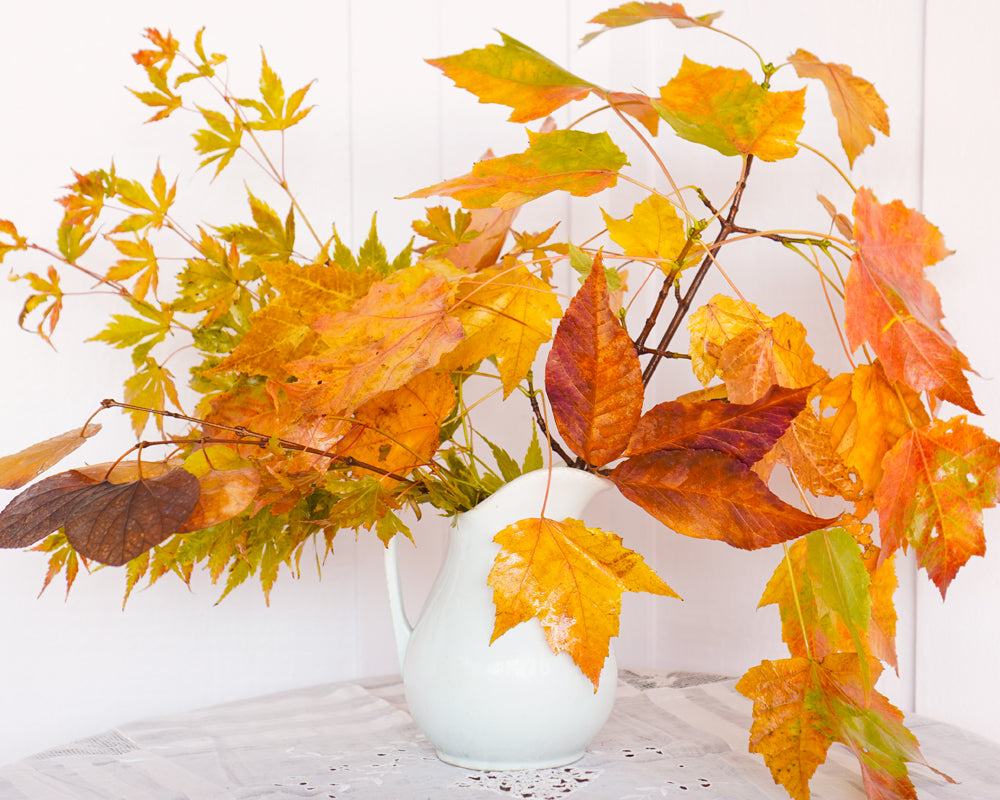
After 5 days I removed the leaves and laid them out on a few layers of paper towels. I used paper towels to blot the front and back of each leaf. The loose leaves and branches both had similar results, but I thought the branches looked really beautiful for arranging in a vase or pitcher. I watched the coloring, and over the next couple days some of the colors continued to soften with the yellow and green tones losing more of their brightness. The orange and red tones remained the same as when they were removed from the bath. I'm eager to see how long the leaves will last, and I'd like to try crafting with them to see how they hold up over time. The process for preserving leaves was easy, and I appreciate decorations made with natural materials.
Before:


After:


PIN ME:


