Paper Oak Leaves and Acorns Tutorial
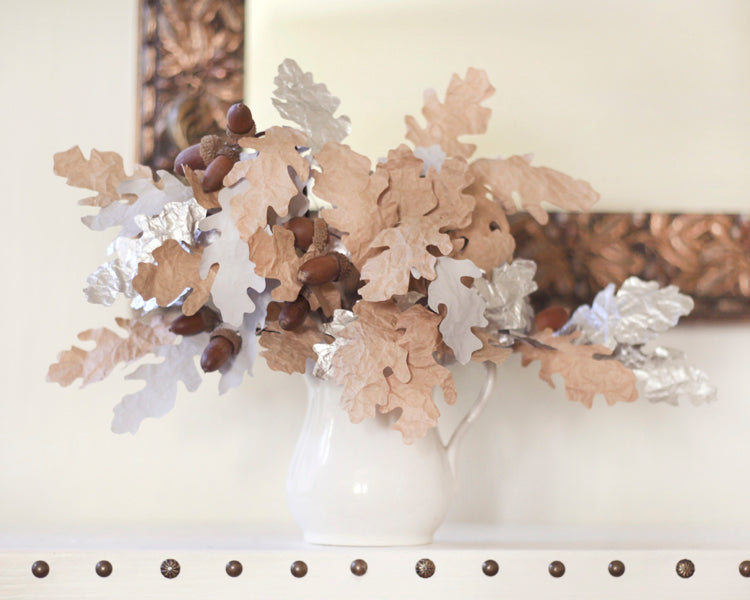
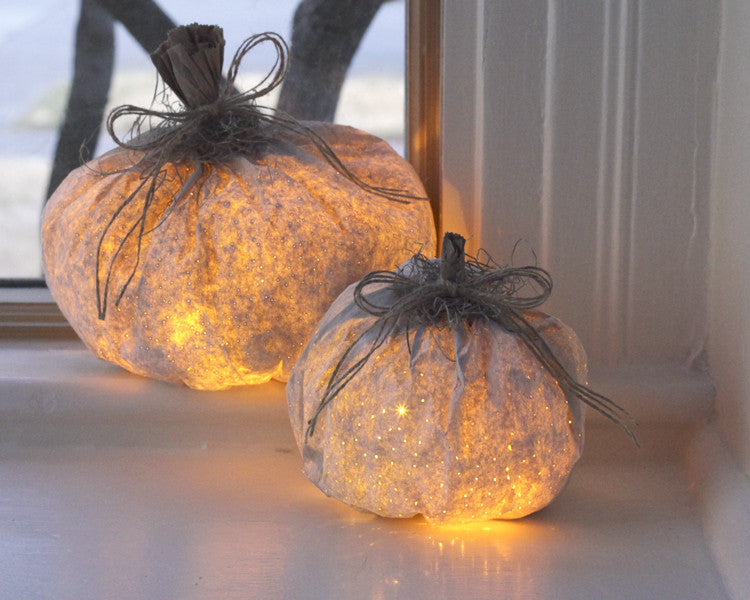
For this year's fall decorations I wanted to expand on the style of my Paper Bag Pumpkins with their muted colors and rustic, crinkly texture. I'm really on a Kraft paper kick right now. I love the feeling of it and the simple brown tone. These individually handmade leaves can be combined into a centerpiece or wreath. I've made them in three colors: the plain paper brown, a matte dove gray, and a metallic silver. I think they would also look amazing with gold, and maybe a deep rusty pumpkin orange.
Supplies:
- Brown Kraft paper
- scrap paper
- cardboard
- pen & mechanical pencil
- scissors
- brown floral tape
- 24 gauge floral wire
- 16 gauge wrapped floral wire
- wire snips
- hot glue gun, hot glue sticks
- awl
- white glue
- paint brush
- matte gray acrylic paint, metallic silver spray paint
- acorns
- container of your choice.
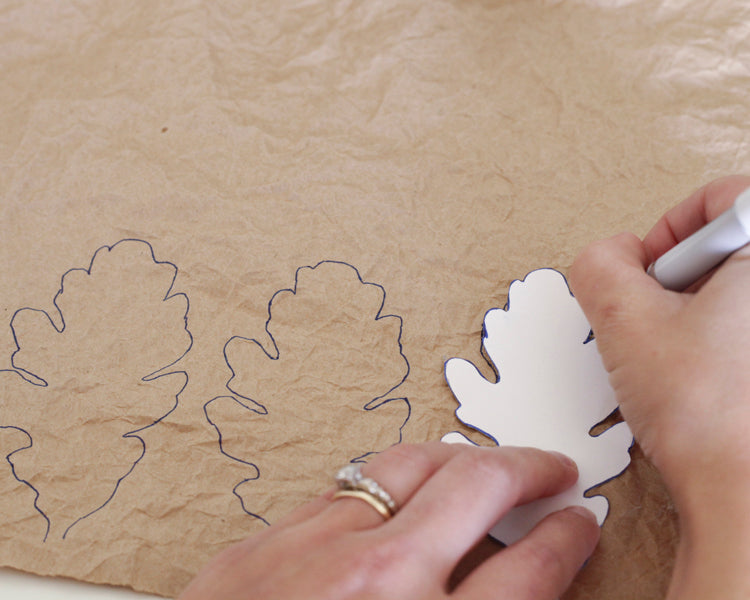
Step 1: Oak leaves can be pretty tricky to draw freehand, so I've made a template. If you live in an area that has oak trees, by all means, trace real leaves! I don't have access to oaks, so I've traced a vintage millinery leaf to get my shape. You can also print out this picture here and use it to make a template.

Step 2: I think the best part of this project is the texture of the paper. Create the texture by taking a piece of brown paper, and crumpling it up in your fists. Crumple, and then flatten it out. Then repeat 4 or 5 times. Each time you crumple it, you are creating a more complex texture. There's a point where it starts to feel almost like fabric, and feels almost soft. Smooth out the paper, and use your template to trace leaf shapes. Imperfections are A-OK! I let the lines wobble and stray. They don't need to be cookie cutter.

Step 3: Cut out the shapes. Again, feel free to be messy. It's nice to have variations in the leaves.

Step 4: Place the leaf on a piece of cardboard or the back of a notepad, and use a mechanical pencil (with NO lead!) to draw the center vein down the middle of the leaf. It will just lightly emboss the paper. This is a minor detail, but a nice one. If you want to go all out you can draw in all of the veins.

Now do it all over again, and make a big pile of leaves! This is a good project to do in front of Antiques Roadshow.

Step 5: Paint some of the leaves in a matte color. I'm using Folk Art Home Decor Chalk paint in Parisian Grey.

Step 6: Give some of the leaves a metallic finish. I took some outside on a piece of cardboard and spray painted them silver.

Step 7: Now we'll attach the stems. Paint some white glue on the ends of your skinny floral wire, and use the tail-end of your paint brush to press the stems onto the backs of your leaves. Let dry.

Step 8: Use some brown floral tape to bind the leaf stems onto a thicker piece of floral wire. Add one or two leaves a little farther down the stem to make a branch.

Step 9: Now we'll make acorn stems. Use an awl to carefully poke a hole in the acorn's cap. Fill the hole with a dot of hot glue, and insert a doubled piece of skinny floral wire.


It's nice to have some acorns on their own in the arrangement, and some bundled together as if they grew in a cluster.

Add acorns to your branches with floral tape. Make a nice variety of branches with different configurations of leaves and acorns.

Select a container for your arrangement. I've used an antique ironstone pitcher with a spikey flower frog at the bottom to hold the branches in place. A pumpkin would make a super vase, or even an old basket.

If you have extra branches, they can be bent into a little wreath to put on a window or cupboard.

Hope you enjoyed this tutorial! As always, if you love it, share it!