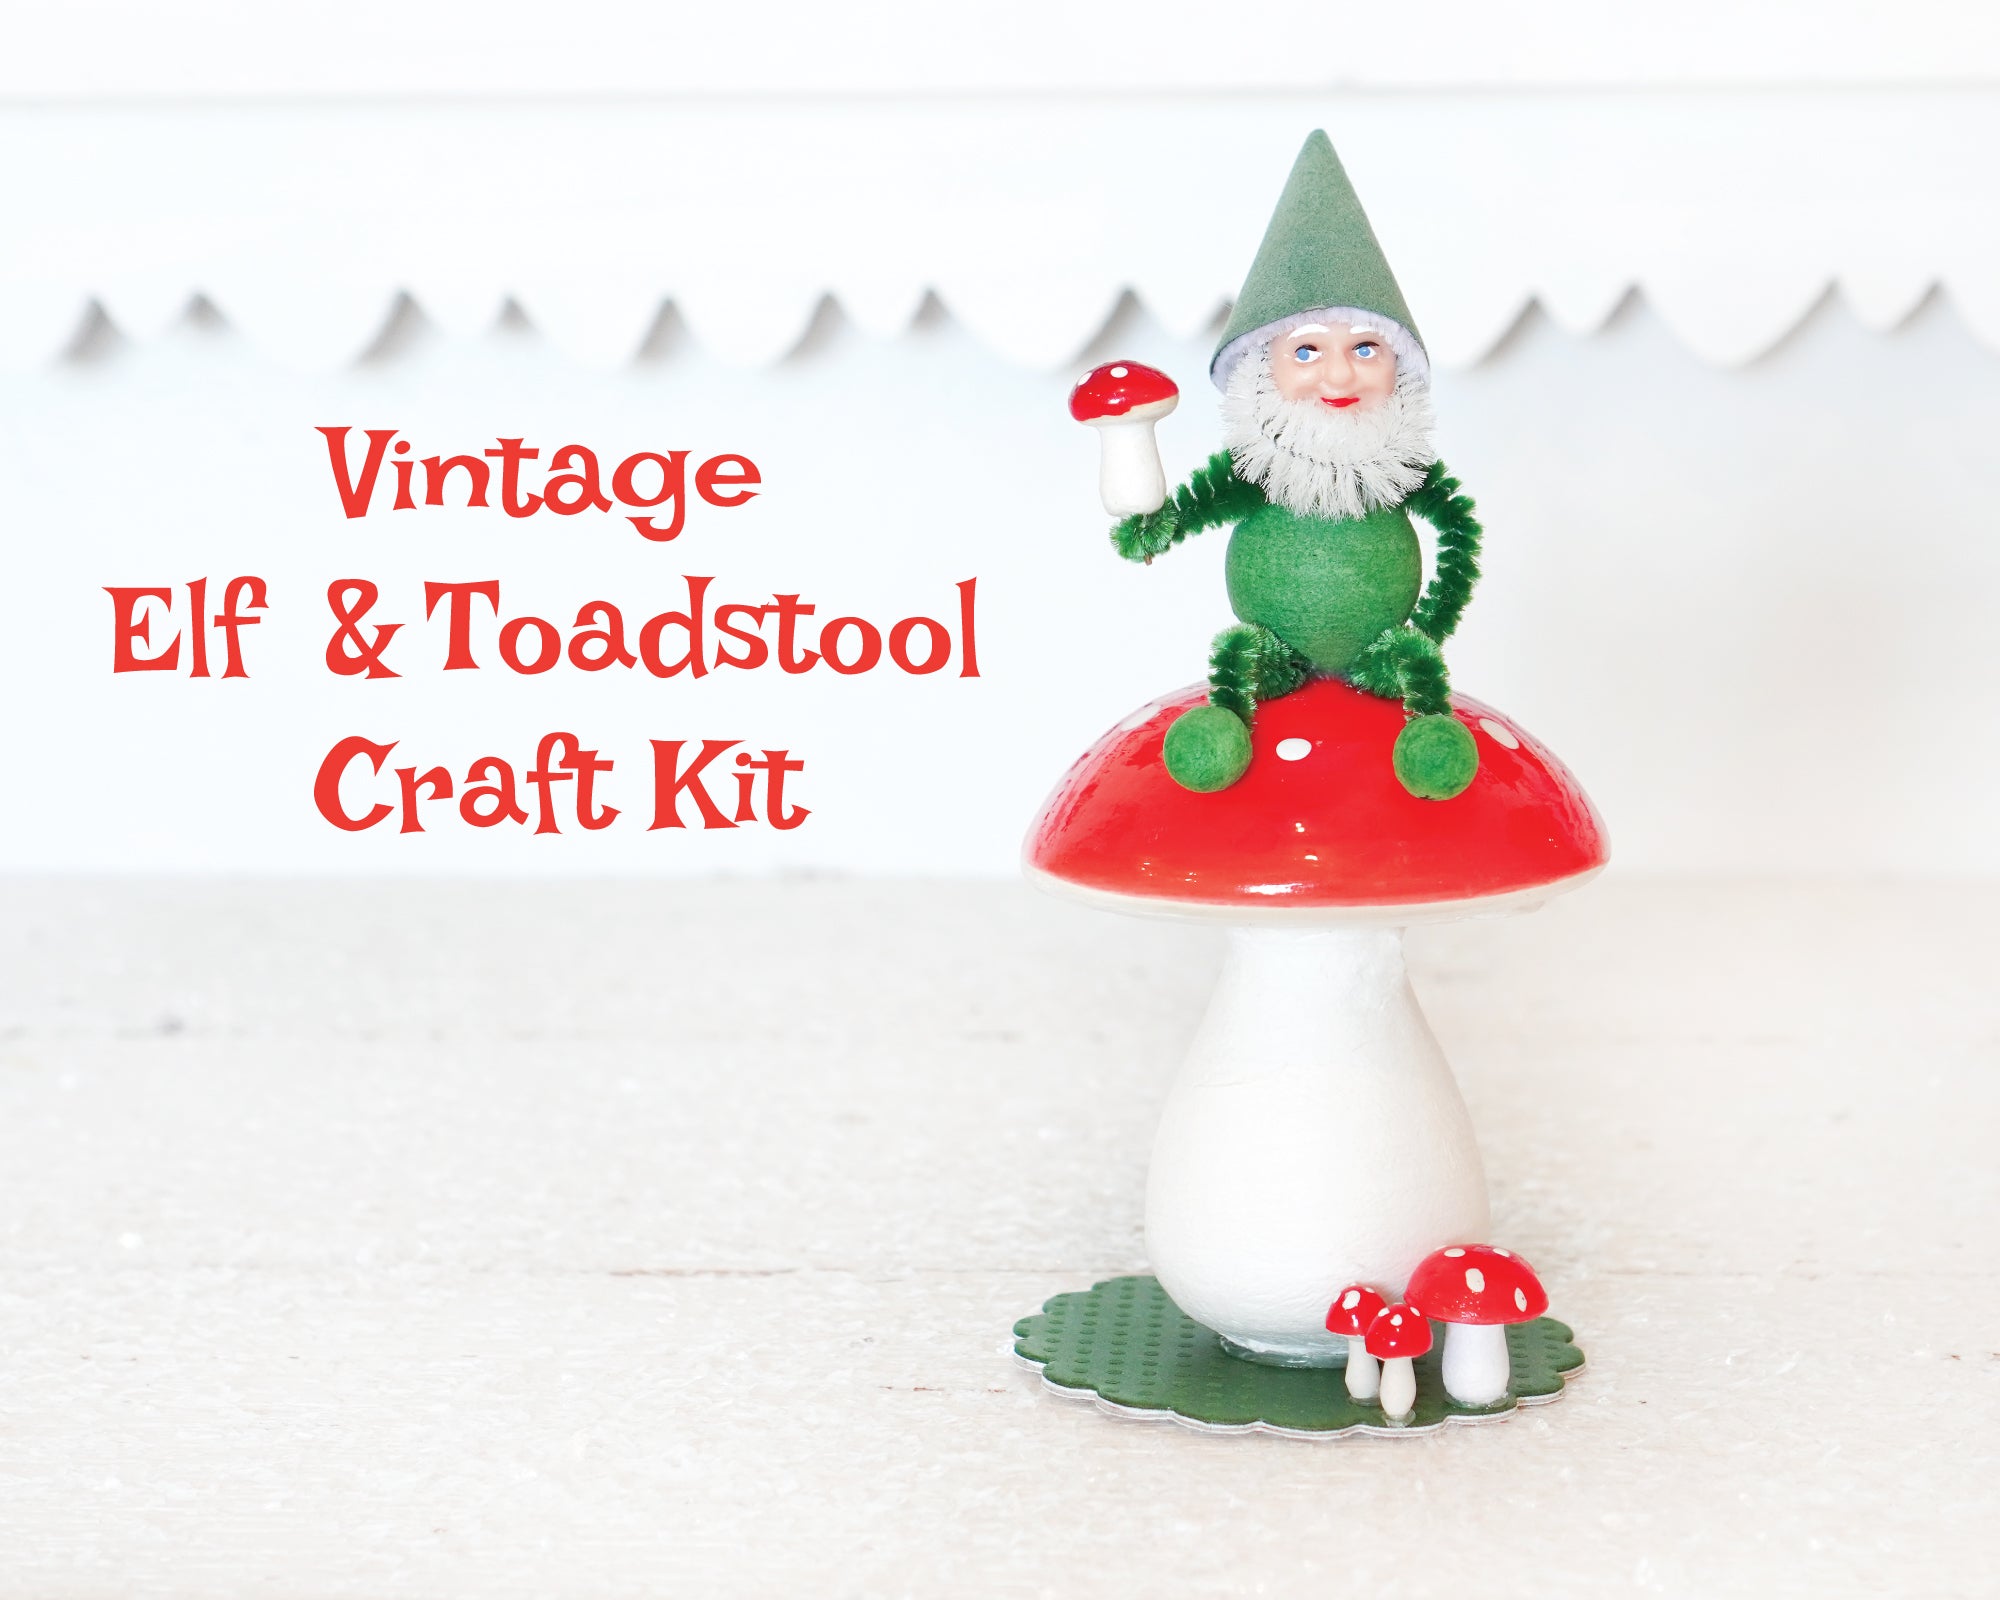
How to Make Spun Cotton Angel Ornaments
 It's the holiday season! I love making angels of all sorts. This variety is made using 20mm doll heads paired with 60x45mm spun cotton cones, and they have little loops added to the tops of the heads to hang as ornaments. The arms are made with tinsel bump chenille, and I've added some pretty vintage embellishments like clear fine grain glass glitter, skinny pipe cleaners, and small Dresden wings. These are easy to make using low temp hot glue to put it together.
The step-by-step and assembly video are below. As an affiliate I may earn commission from qualifying purchases, at no cost to you. Your clicks support my work, thank you!
Supplies:
- 20mm spun cotton doll heads (I used SWEET ANGEL and CHOIR heads in cream and cinnamon.)
- 60mmx45mm spun cotton cones
- Silver tinsel bump chenille
- Skinny silver tinsel roping
- Fine grain clear glass glitter
- Small angel wings
- Foiled Paper stars, thread, and other miniature embellishments
- Acrylic craft paint, paintbrush
- 24 gauge white floral wire
- Scissors
- Awl
- Low temp hot glue gun, glue sticks
- Skewers, jar
- Elmer's Glue-All
Step 1:
Squeeze some hot glue onto the top of the cone, and attach the head. Hold in place until the glue sets.
Step 2:
Paint hair on the doll's head in your color of choice. I find a tapered brush to be helpful in designing a 'hairstyle.' The shape need not be complicated- vintage examples were very loosely painted.
Step 3:
Insert a bamboo skewer into the bottom of the cone to use as a handle for painting and glittering. If you would like the angel's gown to be white, skip right to glittering. To make a colorful gown, paint the cone with acrylic paint first, let dry, and then do the glittering. The glitter is clear, and the color of the cone will show through.
To glitter, paint the entire cone with an even coat of Elmer's Glue-All, taking care to not get any glue on the skewer so it can be removed later. Brush away any drips. Spoon fine grain glass glitter over the surface, collecting the excess into a bowl for reuse. Tap the skewer to dislodge any loose glitter. Set the skewer in a jar and allow to dry.
Step 4:
Remove the skewer. Use an awl or a sharp needle to pierce a small hole in the very top of the head. Bend a piece of 24 gauge floral wire around the awl or a paintbrush handle to form a loop. Twist the ends together, and snip the ends off about 1/4 inch from the loop. Apply glue to the end of the wire loop, and insert into the head.
Step 5:
Bend a 7-inch piece of skinny pipe cleaner roping into a halo, about 1 1/4 inches in diameter. Twist twice. With the halo behind the doll's head, bring the tails around to the front of the neck, and cross them. Twist twice to form a necktie, and snip the ends short.
Step 6:
Snip a single segment of bump chenille to use as the arms. Apply to the back of the neck with a dot of hot glue. Bring the arms around to the sides, bend to make elbows, and snip the length to complete the arms.
Step 7:
Bend the wings back slightly, and apply the center to the back of the angel.
Step 8:
Embellish: You can create a great variety of angels by giving them different miniature trinkets to hold. Gluing stars to a piece of thread can make a tiny garland, or snip the tip off of a small bottle brush tree for her to hold. A simple rectangle of scrapbook paper folded in half can make a songbook.
Add any additional pipe cleaner trims or Dresden stars to the dress as desired.


PIN ME:
