Vintage Christmas Pine Cone Pixies! Fun DIY Holiday Craft
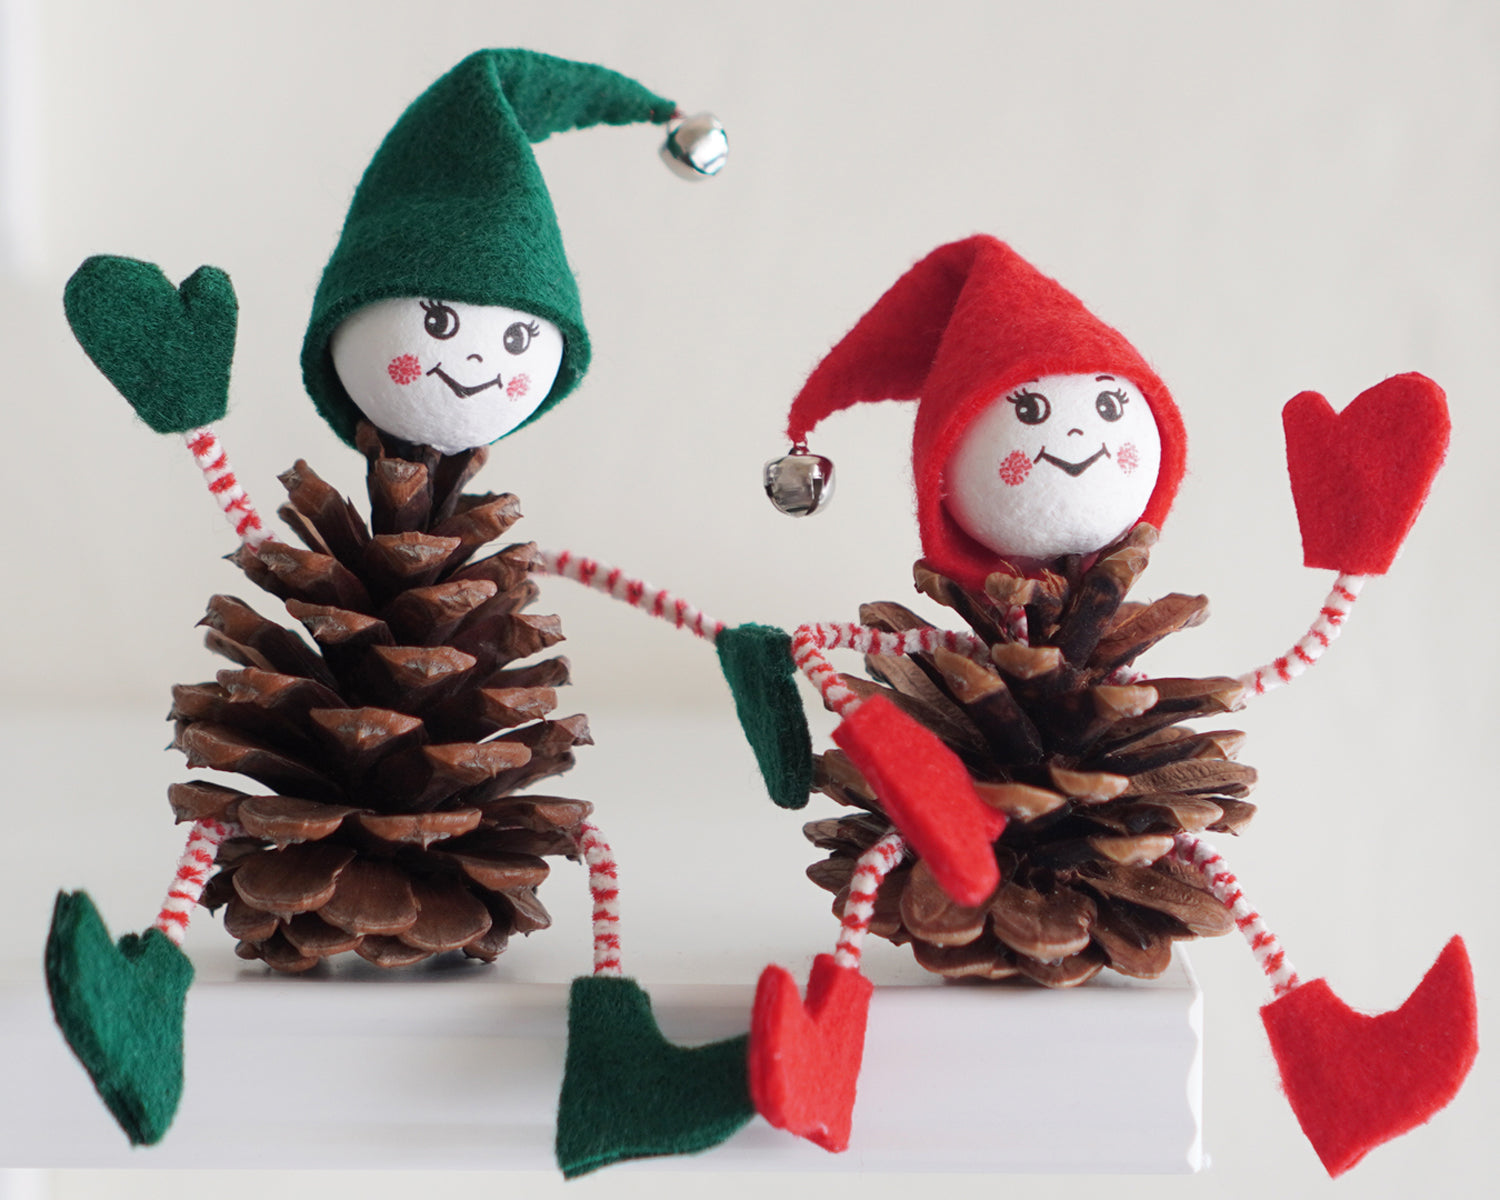
Here's a fun project to use up those extra pine cones you've collected! These adorable little pixies can sit on the edge of the mantel or a windowsill, or can be arranged on the presents under the tree to guard them until Christmas. The printable templates below are sized for a smallish pine cone paired with a 30mm spun cotton head. Ideally, the pine cone would be a maximum of 3 inches tall, and 2 1/4 inches at the widest point. If your pine cone is larger, you may need to use longer pipe cleaners so that the legs are long enough to pose, and you may need to scale up the mittens and shoes accordingly. I am using these skinny red and white striped pipe cleaners, but standard pipe cleaners cut short will also work.
As Amazon Associates we earn from qualifying purchases.
Click HERE to download your printable templates. Remember to set your printer to 100% (do not scale.)
Supplies:
- Printable templates for hat, mittens, and shoes (click to download)
- 30mm Spun Cotton Pixie Doll Head
- Small flat-bottomed pine cone approximately 2 1/2 - 3 inches tall, and up to 2 1/4 inches wide
- Felt, approximately 8 x 10 inches per pixie
- 6 inch pipe cleaners
- 3/8 inch jingle bell
- Needle and thread
- Scissors
- Fabric glue or tacky glue, paintbrush, + books for weighting
- Low temp hot glue gun + glue sticks
Step 1:
Cut 8 rectangles of felt, approximately 1 1/2 x 1 1/4 inches each. Paint 4 of the squares liberally with fabric glue or tacky glue. Arrange them in pairs, and place a 6 inch pipe cleaner between each pair of rectangles, pressing the ends of the pipe cleaners onto the glue. For one pair, place the pipe cleaner right at the center, with the ends extending into the rectangle by about 1/2 inch. These will be the arms and hands. For the other pair, place the pipe cleaner on the lower third of the rectangle. These will be the legs and feet.
Once the pipe cleaners are in place, lay the non-glued felt pieces on top, and press. Set the pieces under a book or a weight. Allow these pieces to dry fully before cutting out the mittens and shoes.
Step 2:
Print out the templates at 100% scale, and cut them out.
Hold the templates against the felt, or trace them first, and cut out the mittens and shoes. Cut out the shapes, and then go back and trim to perfect the edges.
Step 3:
Use the template to cut out the hat shape from the felt. Fold the shape in half, and using a needle and thread, stitch from the bottom up to the top point. Add the jingle bell at the top before tying off.
Open up the hat, squeeze a little hot glue into the tip of the hat, and then around the inside. Insert the pixie head, press into place, and then fold over the top of the hat before the glue sets.
Step 4:
Slide the arms into the slots of the pine cone, and crimp the back of the arm segment to adjust the arm length. Glue in place at the back.
Slide the legs into the pine cone and pull them toward the front of the pixie, bending to make knees.
If your pine cone has a top point that will fit into pixie head, you can use it as a peg for attaching the head. If not, trim away the top bits of the pine cone to make a flatter surface so you can glue on the head.


PIN ME:

