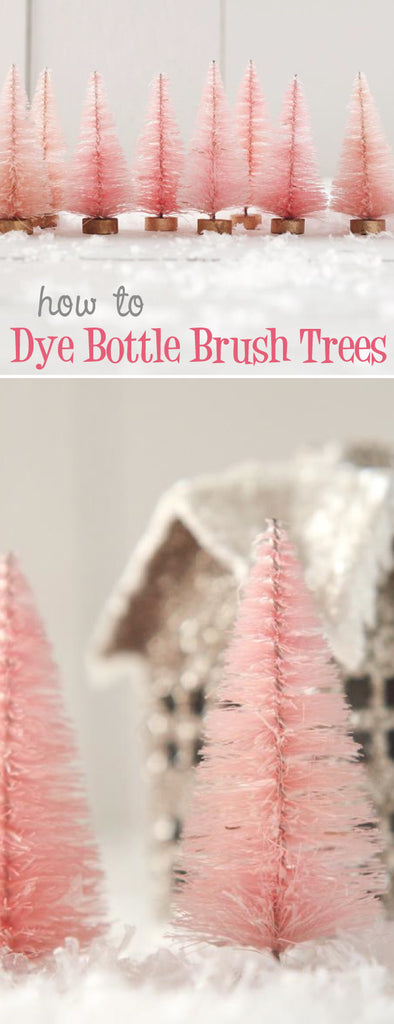
How to Dye Bottle Brush Trees with Rit - DIY Craft Tutorial
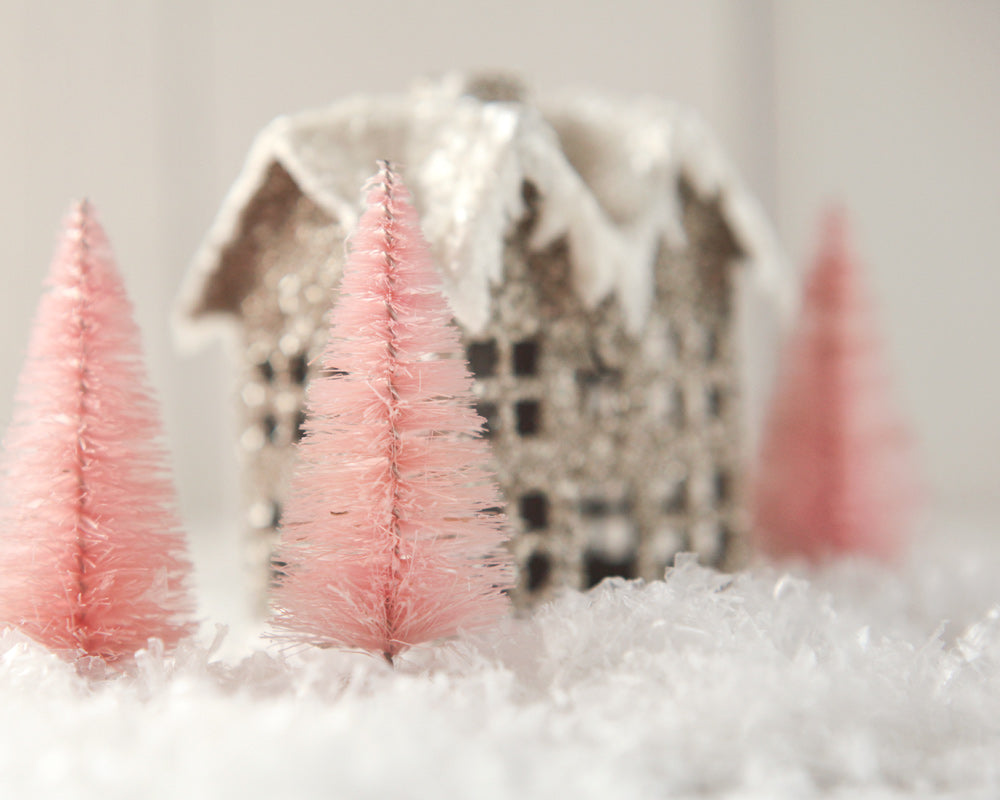
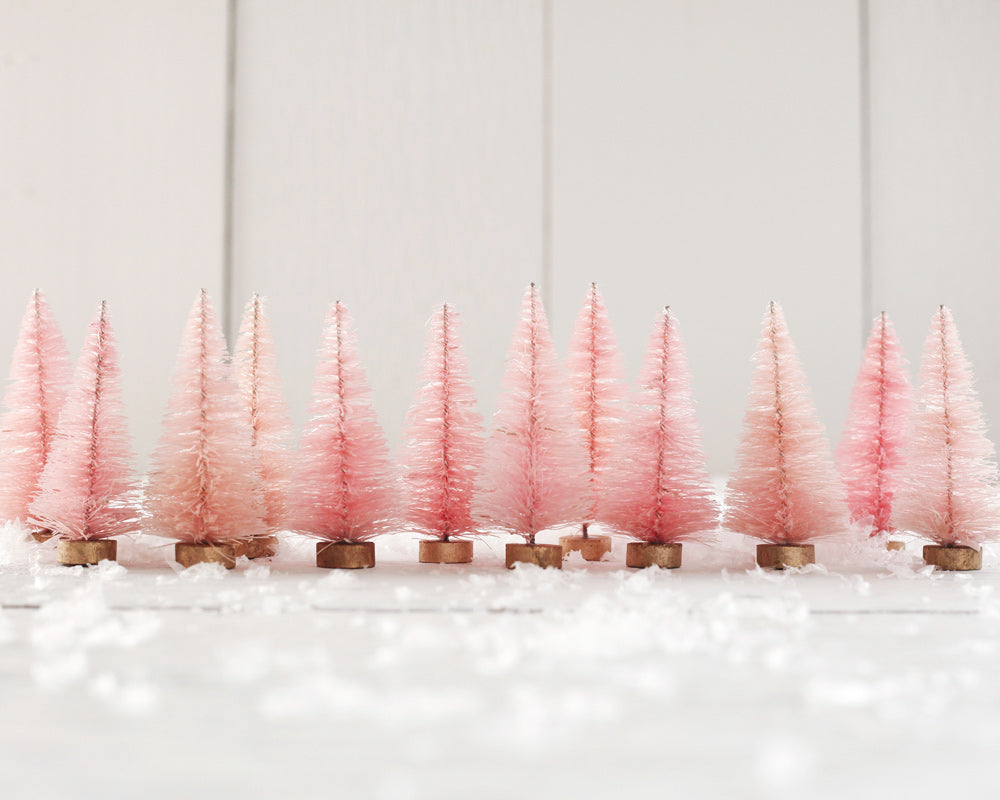 When I started selling the minty bleached bottle brush trees a couple years ago, I immediately started getting requests for other colors. PINK, in particular, is in high demand. Dyeing trees is quite a different process than bleaching them, but it is still something that can be done with just a few materials. Some people will bleach green trees, and then dye them their desired color, but you can get un-dyed sisal trees right here which will save you that step. In this tutorial I am using Rit fabric dye in "Petal Pink." I'm not leaving them in the dye for very long, because I am wanting just a nice light pastel pink. For bright or dark colors, you may need to increase the strength of your dye bath, and increase the times. As with any dye project, there are a lot of variables, and you'll want to test a couple trees to get the exact shades you're looking for.
Supplies:
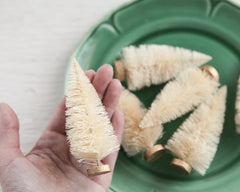
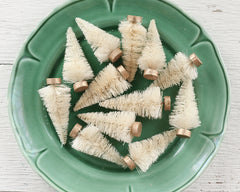
- 4" Undyed sisal trees
- Rit dye (I'm using "Petal Pink")
- Thermometer
- 1/4 tsp measuring spoon
- Gloves
- Tongs
- Water + Kettle
- 3 Pint Jars
- Dye-safe bowl
- Paper Towels
- Hair Dryer
Step 1: Prepare your work area. This is a great outdoor project, but if you have to do it indoors, protect your surfaces. Wear gloves, and use tongs for handling the trees. Heat at least 12 ounces of water in a kettle to 140 degrees Fahrenheit. You need to have enough water to submerge the trees fully. Set up two pint jars and a large dye-safe bowl, all filled with cold water.
Mix the dye: Pour the 12 ounces of 140 degree water into a pint jar.
For pastels: mix in 1/4 tsp of dye
For brights: mix in 3/4 tsp dye
Stir with the tongs to mix. These measurements are a good starting point, and then you can adjust the strength of the dye once you see the first results.
Step 2: Hold the tree by the base with the tongs, and dip into the tree into the dye bath. Agitate it gently for about 15-30 seconds for pastels, or longer for brights. You can lift the tree out to check the color. You will want it to look a shade darker than you're hoping for, as the color does lighten a touch once rinsed. Drain the tree well, letting any drips fall back into the jar.
Step 3: Dunk the tree into the first clear water jar, and agitate for a few seconds. Drain, and move to the next jar. Agitate again, and then place the tree into the large water bowl. You can leave it there until all of your trees are dyed.
Step 4: Dye your other trees, and collect them there in the holding bowl. Then, rinse them under running water for several minutes to remove any remaining dye.
Step 5: Drain off the water, and set the trees on a stack of paper towels. Dry them thoroughly with a hair dryer.
Tips:
- Starting with 140 degree water is important to ensure that all of the dye dissolves.
- As the dye bath cools from 140 degrees, you may need to increase the time that your trees sit in the dye.
- You will want to periodically refresh the rinsing jars with clean water.
- For brighter or darker colors, try adding more dye powder or lengthening dye times.
- If a tree comes out too light, you can put it through the dye bath again to darken it.
- Experiment with a dip dye effect by not submerging the whole tree in the dye, or running just the top through the dye again. You can also play with layering colors.
Products featured in this tutorial:


