Making Clay Doll Faces from a Vintage Figurine
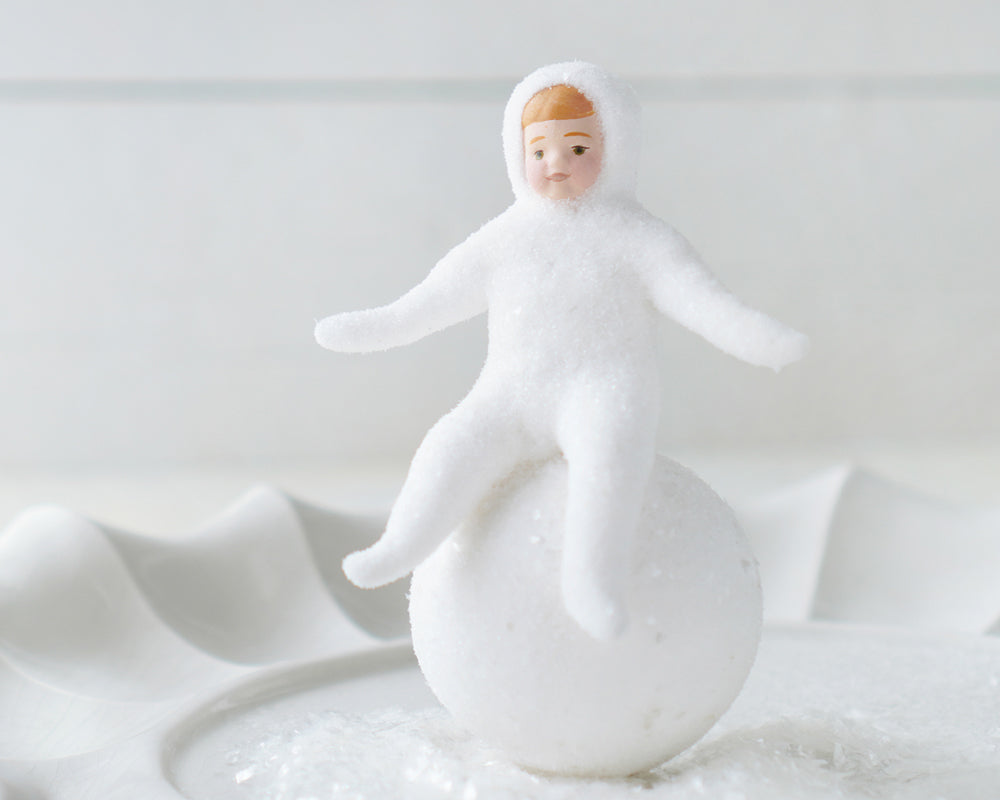
 I recently found a really cute figurine, kind of Kewpie style, and I wanted to use the face for making some Halloween dolls! I share this technique for making craft faces in my book Spun Cotton Crafts. Today I'm using silicone putty to make a mold of the face, and then I'll press paperclay into the mold to make the faces. Paperclay is lightweight and air dries overnight, so I can paint them the day after molding. When searching for a doll or figurine to mold, look for one with shallow features. Faces with very pointy or long noses, or deep-set eyes, can sometimes get air pockets or bubbles in the recessed areas. It's not impossible to do it, but you may need to make a few molds to get a good one. Follow the directions for molding in the instructions for the silicone putty you are using. The putty I am using today sets up in 25 minutes, and you can buy it here. As affiliates we earn from qualifying purchases.
- Doll or figurine - this can be ceramic or plastic. Etsy and Ebay and great for these things.
- Silicone mold putty
- Craft sticks
- Paperclay
- Utility scissors or craft knife
- Acrylic craft paints and small paintbrushes
Step 1: The putty comes with two parts that need to be mixed equally, so I use craft sticks to pull out a lumps that are equal in size. You can use a scale to weigh the lumps, but I usually will just eyeball it. Use enough material so that, when combined, the silicone ball will accommodate the size and shape of the figurine's head.
Step 2: I am mixing the silicone putty according to the directions. For this brand, it has a 3-minute work time. Mix part A and part B quickly and thoroughly, folding it in from the edges, squeezing and turning to combine both parts. Once the color is uniform, I roll it into a ball. Rolling it between my palms will eliminate cracks and creases. Check that you have a smooth surface.
Step 3: I focus on the eyes, nose, and mouth as I roll the ball over the figurine's face to completely envelop it. Once the face is embedded, I press the back of the ball onto a table or work surface to flatten it. Leave the figurine in the silicone for the entire curing time, and do not move it. For this brand, the mold is cured in 25 minutes. After the curing time, you can lift the figurine out. Check inside the mold for any flaws like air bubbles that may have formed. If I find any problems like holes or gaps, I make a new mold.
Step 4: Roll up a piece of paperclay a little larger than the void in the mold. Roll it between your palms. Look at the surface and check that it is smooth. If you find any lines or cracks, paperclay can be smoothed with your fingers by using a petting motion. Once you have a smooth ball, press it into the mold starting at the area with the most detail (usually eyes/nose area.) Press firmly with your thumb. It can take some practice to press firmly enough to capture the details without wiggling the clay side-to-side. Allow the excess clay to squeeze out over the sides of the mold, as this makes it easy to remove the piece. Grasp the excess clay, and peel it back to release the face from the mold. Inspect the face, and determine if the molding was successful or not. If there are areas that did not capture the details, just ball up the clay and start again.
Step 5: Use utility scissors or a craft knife to remove the excess clay around the edges and back of the face. You can use small tools to adjust facial features, and you can 'pet' the surface with a tool or your finger to smooth out small imperfections. Set the face on a wire rack to dry overnight.
Step 6: I use regular acrylic craft paint to paint the faces, but you can use other types of paint as well. You can make the faces simple or detailed, and they don't necessarily have to match the style of the figurine you molded. It's fun to experiment with different brushes and try out different color combinations to make a variety of looks from the same mold.
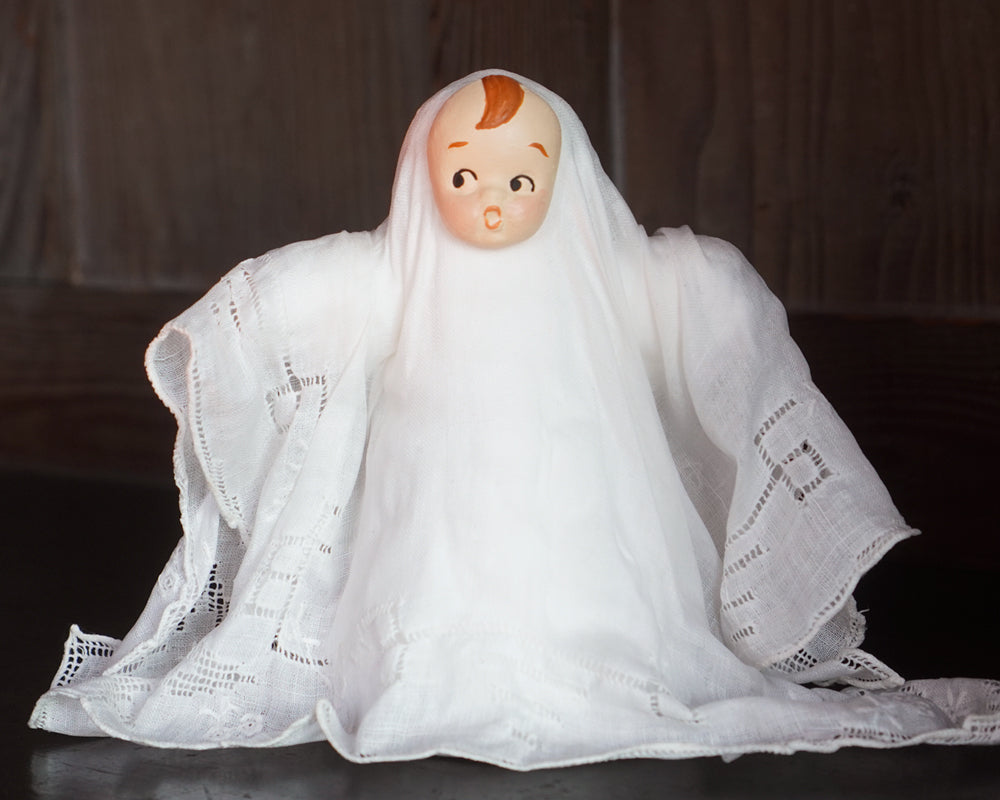
These faces can be used for spun cotton figurines. In the next project I'll be using this face to make a Halloween ghost doll using a vintage handkerchief!


