Basic Macrame Knots: Simple Square Knot Tutorial + Adding Beads
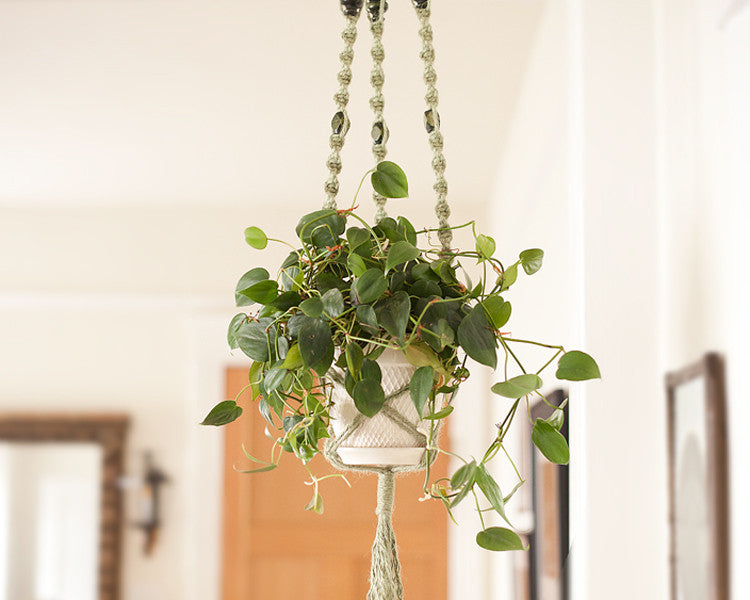
If you lived through the 1970s, you might remember this! One of the most basic macrame knots is the square knot, and it's actually very versatile. This tutorial shows how to tie square knot in a long, continuous strand, which would be ideal for making a macrame plant hanger.
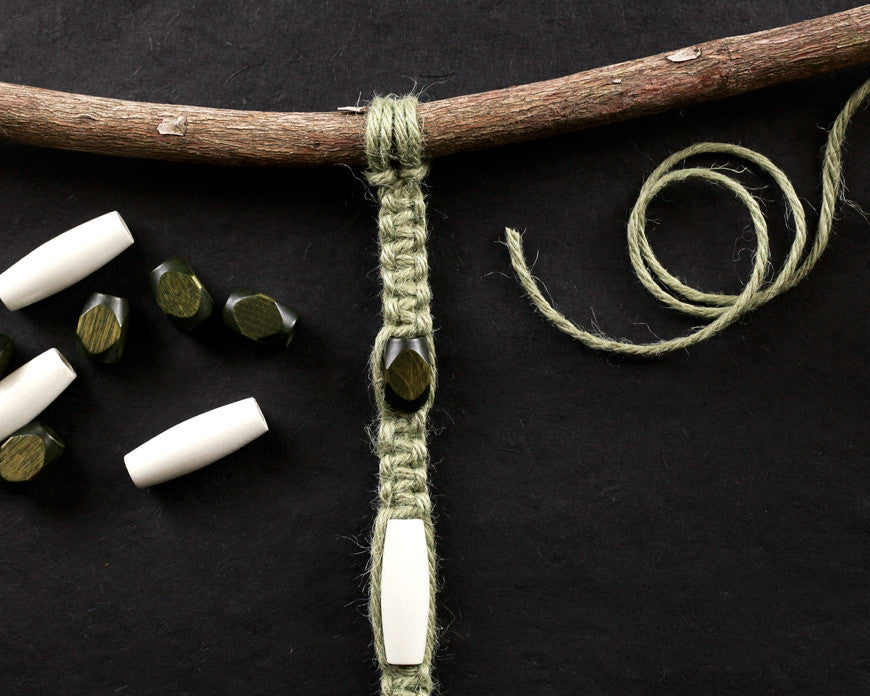
I am using 5 ply, 3.5mm jute cord, which is available here in several colors. The jute adds a wonderful bit of texture and earthiness to the finished piece. The tutorial also shows how to easily incorporate wooden beads into the strand. The beads are vintage stock, and are available here.
To show the technique I am using a stick as the main support, as you would if you were making a wall hanging. You can really attach the macrame cord to anything: a wooden ring, a dowel, stick, metal hoop. You can hang the support and work vertically, or set it on a table and work horizontally- whatever is more comfortable for you. I chose to work on a tabletop, and tied my support to the opposite table legs so that I could keep my project from moving around.
As affiliates we earn from qualifying purchases.
Supplies:
- 3.5mm, 5 ply jute cord
- wooden macrame beads
- scissors
- a support, like a wooden ring, dowel, stick, or metal hoop.
Step 1:
Cut two lengths of macrame cord. For this simple knot tying demonstration I am using two fairly short strands of the same length. If you are going to make a plant hanger, you may want to cut one length 2-3 times longer than the other, and arrange your cords so that the longer strands are on the outside, and the shorter strands are on the inside. This is because the inner 2 cords never move, while the outer cords are used up faster by tying the knots.
Step 2:
Bring the ends of each cord together to find the center point of the cord. Loop the center point over the support, and feed the ends through until the cord secured tightly to the support. This is a lark's head knot.
Step 3:
How to tie a macrame square knot: Make a loop with the left strand, extending the tail across the other 3 strands. Bring the right strand over the tail of the left strand, and then feed it through the loop from the back. Pull both the left and right strands to tighten, while holding the center strands taught. Then, reverse the process to complete the knot: make a loop with the right strand, bring the left strand over the tail of the right strand, and feed it through the loop. Then tighten.
Step 4:
Adding a macrame bead: Feed the tails of the two center strands through a bead. If the cord is too frayed at the ends, you can wrap the tails in a little tape to make threading the beads easier. You can also use a thin piece of wire bent in half around the cord as a needle to pull through the bead.
Secure the bead by tying a square knot just below it.

