Macrame Plant Hanger - Craft Tutorial with Easy Macrame Knots
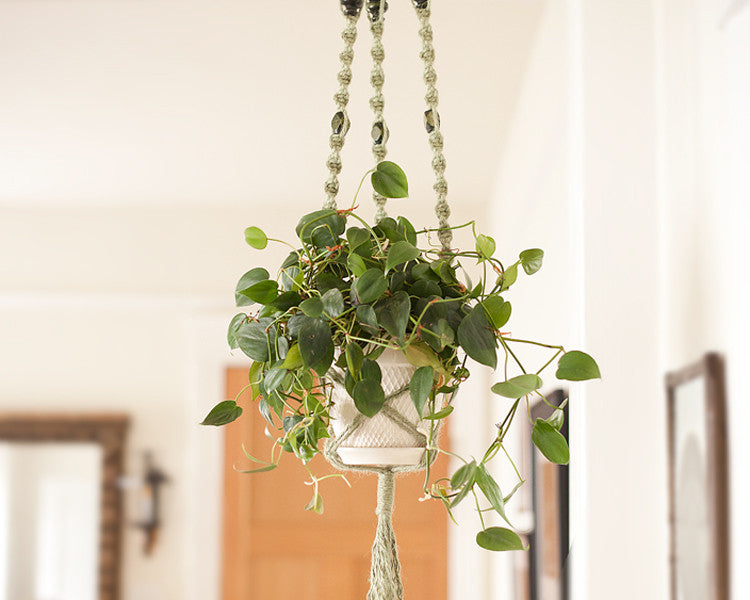
This macrame plant hanger uses simple knots to create, and makes a great statement piece! The finished plant hanger is just under 5 feet long. It has some cool chunky wooden macrame beads, and a fun fluffy tassel at the end to sway in the breeze. This pattern will hold a plant pot that's up to about 6 inches in diameter. You can work on this piece vertically or horizontally by either hanging up the brass ring and working your way down, or tying the ring down so you have a little tension across a surface. I tied my ring to a table leg on the opposite side of my surface, and that worked well. I love the texture of jute cord, so that's what I used here. If you have never done any macrame, you may want to review this tutorial showing how to tie a simple macrame square knot.
Supplies:
- 50 yards 5 ply, 3.5mm jute cord (two 25 yard spools)
- 2.5 Inch brass macrame ring
- 6 faceted wood macrame beads
- 3 groovy wood macrame beads
- scissors
- scrap twine for tying ring down
- tape measure
- masking tape
Step 1:
Measure and cut 6 strands: 3 cords measuring 11 yards, and 3 cords measuring 5 yards. Bring the ends of each cord together to locate the center points of the strands. Hang up the brass ring, or tie it down to work flat on a surface. I used a little scrap twine to tie mine to the table leg on the opposite end of the table, and made it adjustable, so I could re-position it as the piece grows.
Step 2:
Loop the center point of each strand over the brass ring, and feed the ends through the loop. Pull to tighten. (This is a lark's head knot.) Alternate the short and long cords.
Step 3:
Separate out the far left cord, and the far right cord. Skip down about 3 inches from the brass ring, and use these two cords to tie 2 inches of square knots. This will encase all of the other cords into a thick section. To review how to tie a square knot, see this tutorial.
Step 4:
Separate 4 cords on the left, two long, and two short, and move the rest of the cords out of the way. Arrange your 4 cords with the two long on the outside, and the 2 short at the center. Begin a 10 inch segment of spiral knots (half square knots.) To review, a spiral knot is just a half knot that never alternates, meaning the loop is always made on the same side. It will twist automatically as you work.
Step 5:
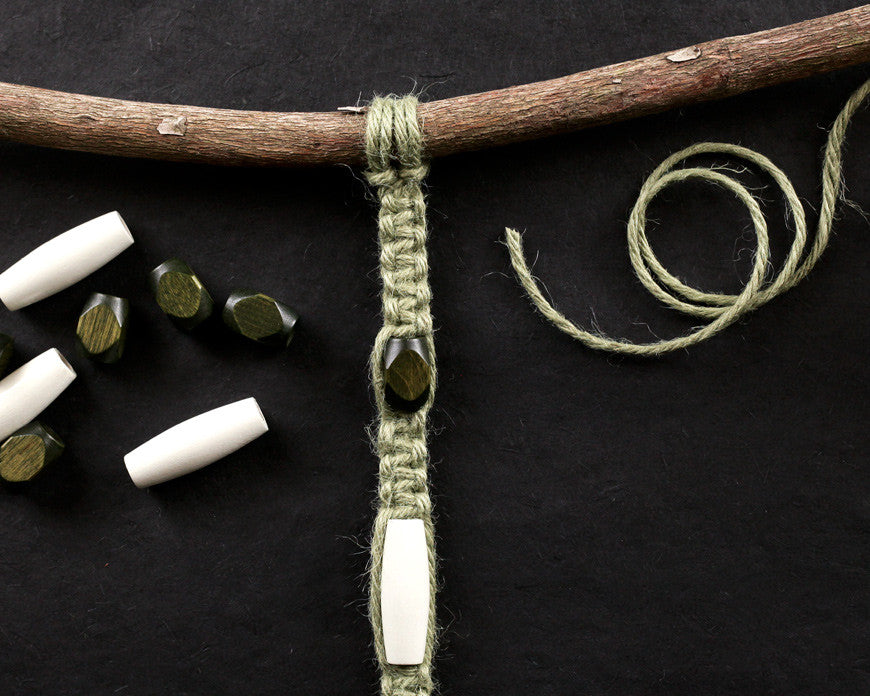
After 10 inches of spiral knots, add your first faceted wood bead. Slide the bead over the two center cords, and then secure by continuing spiral knots with the outside cords. Add 4 1/2 inches of spiral knots, then add the big groovy bead. Use a little masking tape on the ends of the center cords if you have any trouble threading the beads on. After the groovy bead, spiral knot for another 10 inches. T
To review the pattern so far:
From the ring: 3 inches loose cords, 2 inches square knots, 10 inches spiral knots, bead, 4 1/2 inches spiral knots, bead, 4 1/2 inches spiral knots, bead, 10 inches spiral knots.
Step 6:
Now split up the other 8 cords that you haven't worked, and repeat the pattern starting with 10 inches of spiral knots. This will leave you with three completed arms (sinnets) ready to connect into a cradle for the plant.
Step 7:
To create the cradle the cords of each sinnet are split, and tied to the neighboring cords: Separate the 4 cords of each sinnet with two towards the left, and two towards the right. Bring together 4 neighboring cords: two from one sinnet, and two from the next sinnet. Skip down about the width of your hand, and use these 4 cords to tie a square knot. Then connect the next 4 cords in the same way. To complete the circle of the cradle, bring together the last cords at the center, and knot.
Step 8:
Now skip down another hand's width, and alternate the cords to make 3 more square knots. This is essentially creating a net with a diamond shape. You may want to insert some cardboard to make it easier to see.
Step 9:
Skip down 2-3 inches, and secure all cords together with a tight wrap knot: Take about 1 yard of cord, and make a 4 inch loop. With the loop pointing down, use the long end of cord to begin wrapping from the top down. Wrap over the loop's tail, and around all cords. Wrap tightly for about 2 inches, then insert the wrapping cord through the loop. Hold the wrapping cord tightly, and pull the short tail at the top of the wrap hard until the loop is pulled inside the wrap. Snip the short tail.
Step 10:
To make the tassel, untwist each cord, and fray.
Products Featured in this Tutorial:


