Tutorial: Plaster Fairy Mushroom Picks
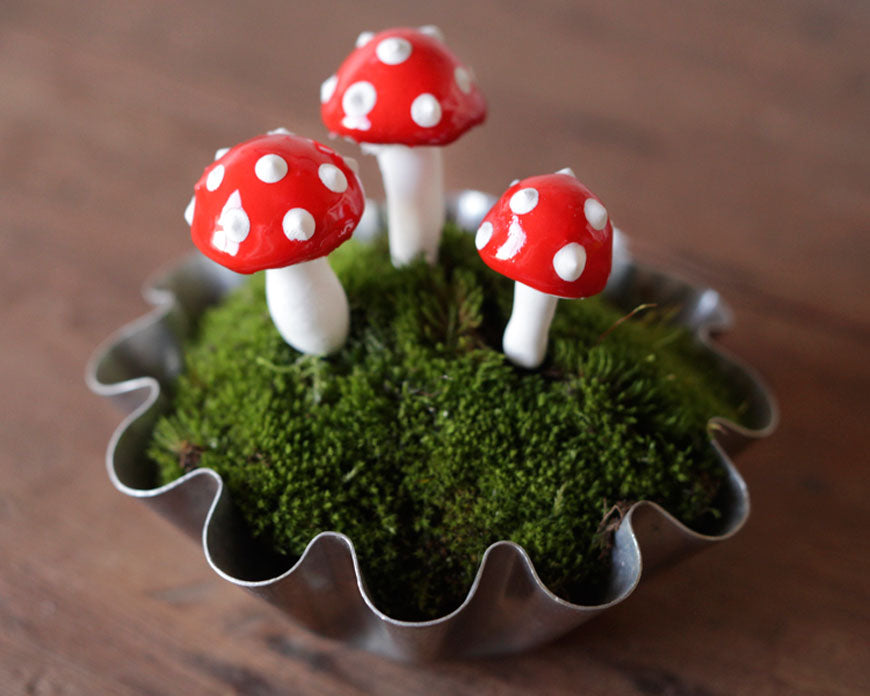
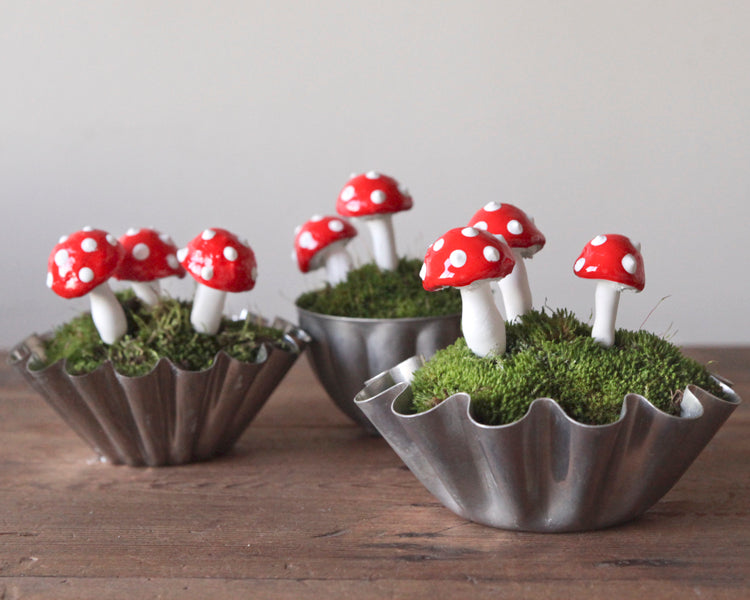
It seems that so many amazing crafts originated in Germany. These plaster fairy mushroom picks were inspired by some vintage German-made ones, and would make great embellishments for lots of projects. I displayed mine on a pad of real moss nestled in a vintage jello mold for a miniature fairy garden. They would also be adorable stuck into the soil around houseplants.
This project is a bit time consuming, as it takes multiple coats of plaster to build up a good sized mushroom, but it's very worthwhile if you make them a dozen or so at a time.
Supplies:
- Plaster of Paris
- Water
- Several disposable food containers for mixing (I used the bottom of a milk carton, and some takeout containers)
- Craft spoon
- Coarse sand
- 16 gauge wire
- Styrofoam block
- Cheap red nail polish
- Bamboo skewers
- Epoxy resin mix (optional)
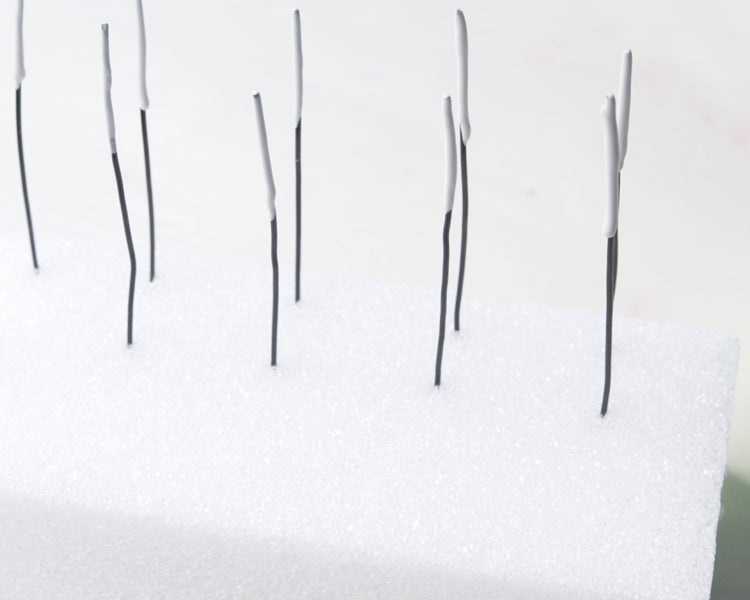
Step 1: To get set up, cut the wire into 4 inch lengths, one for every mushroom. Then when you are ready to begin, mix your first batch of plaster. Mix only about 1/2 cup of powder at a time because you'll be making multiple batches. You need to experiment to get the consistency right - think melted ice cream. Thin, but not watery. It will begin to harden almost immediately, so start thin, and let it thicken a little as you work.
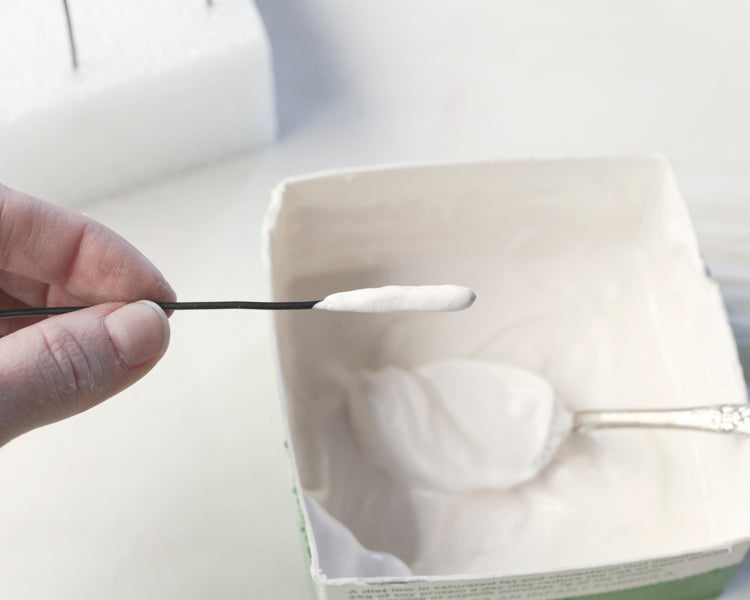
Step 2: Use your spoon to drizzle plaster over about 1 1/2 inches at the end of the wire. Your first coat will be very thin, and will just cover the surface. Stick the wire into the Styrofoam block to dry. As soon as all of your wires are coated rinse out your container, clean your spoon, and mix your second batch of plaster. (I found it helpful to have an old coffee can or something nearby to scrape out excess plaster that hardened to the container, so that it doesn't go down the drain.)

Step 3: Repeat the process, using your spoon to apply a new coat of plaster over the first. Heavier applications may drip a bit, so just tap the wire slightly to release any drips before setting them up to dry. It's ok if some parts are thicker than others, because they actually turn out looking kind of fun and organic. After this coat you can decide if your mushroom stems are thick enough, and you can add another coat if you choose. Rinse your container, and make your next batch.
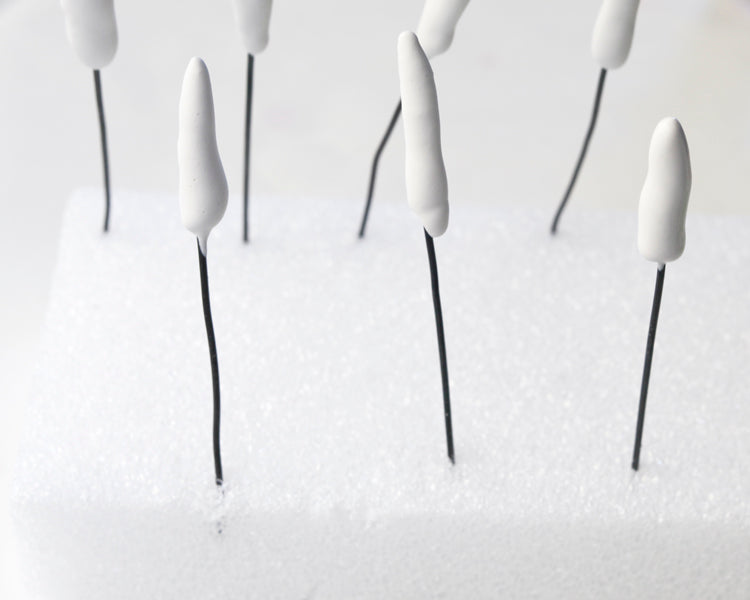
Step 4: Oh this step is hilarious. There is no way to avoid this step, when the mushrooms start to look...completely obscene! If you're making these for a bachelorette party, go ahead and leave them at this stage. Otherwise, just bear with me!! ;)
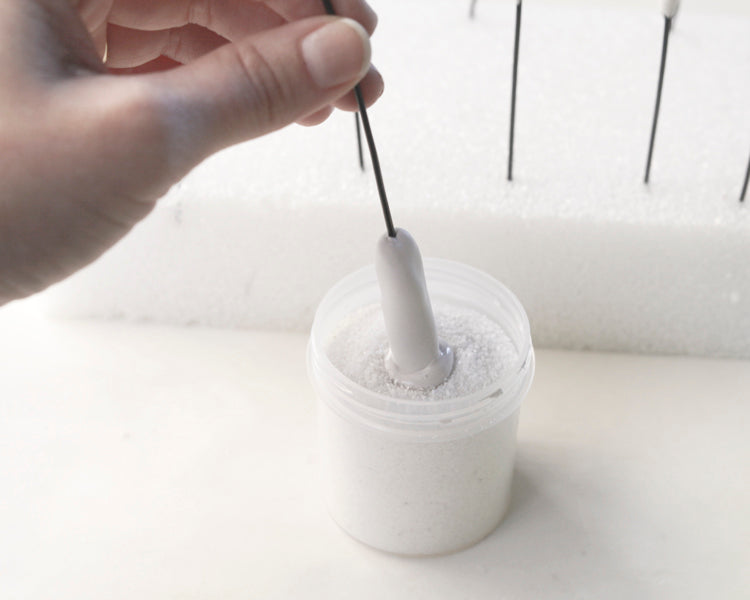
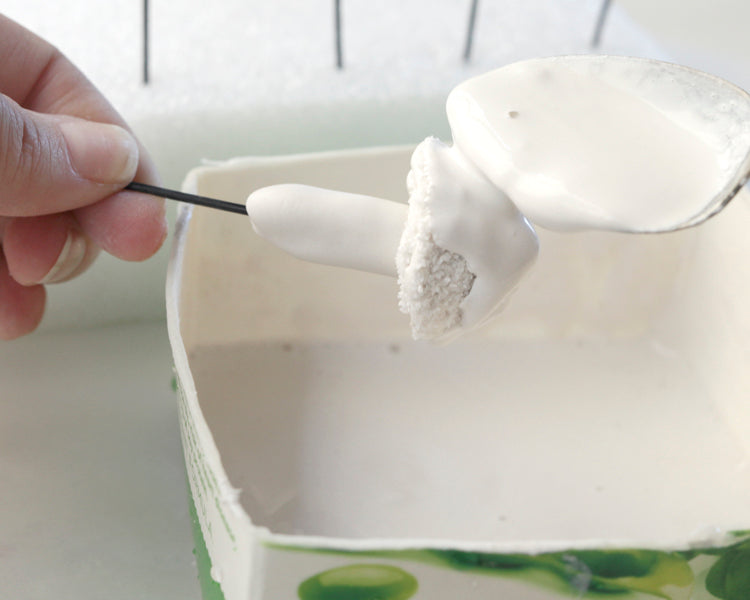
So for step 4 you need to get a small container and fill it with coarse sand. I'm using a white floral supply sand. It doesn't have to be white, but it does help it blend in better. Coat just about 1/4 inch of the mushroom stem with new plaster, and immediately dip it in the sand. Dipping will automatically mush the plaster, and create the mushroom cap.
Set them up, let them dry, and then repeat the sand process. Three alternating layers of sand and plaster will make a nice sized cap.

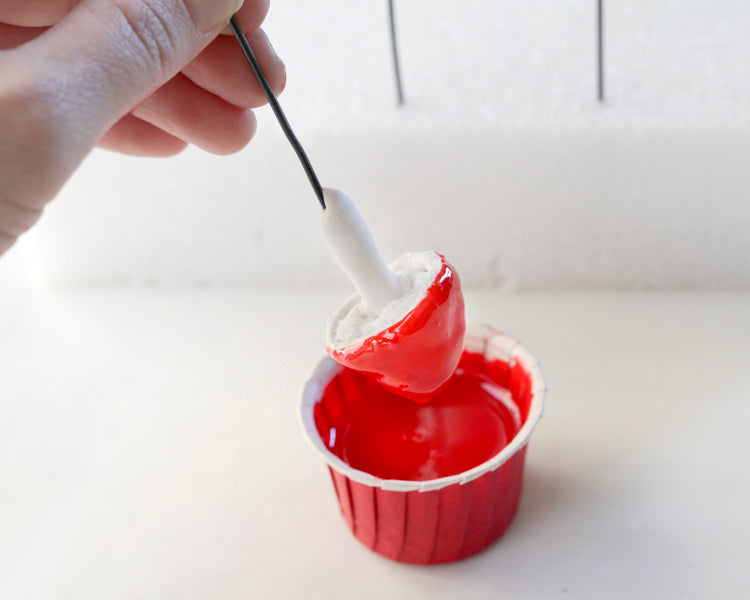
Step 5: Mix another batch of thin plaster, and give them a final dip to coat the sand. Let them dry completely.
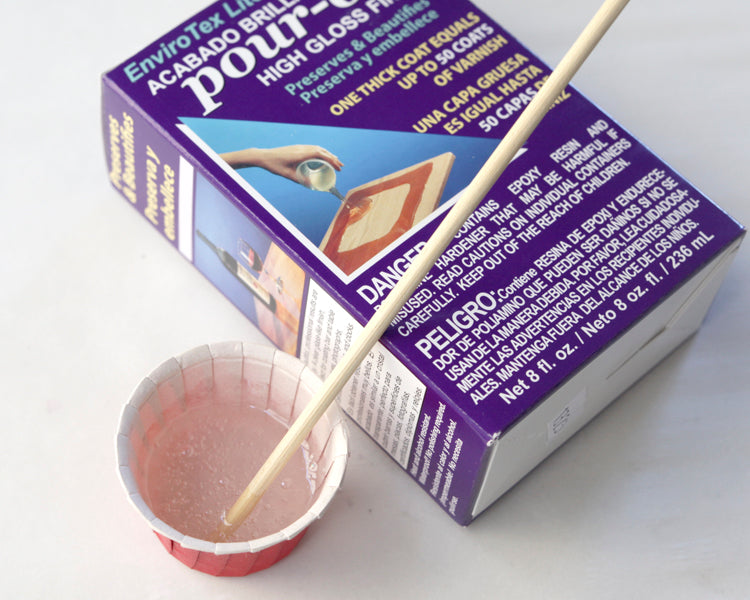
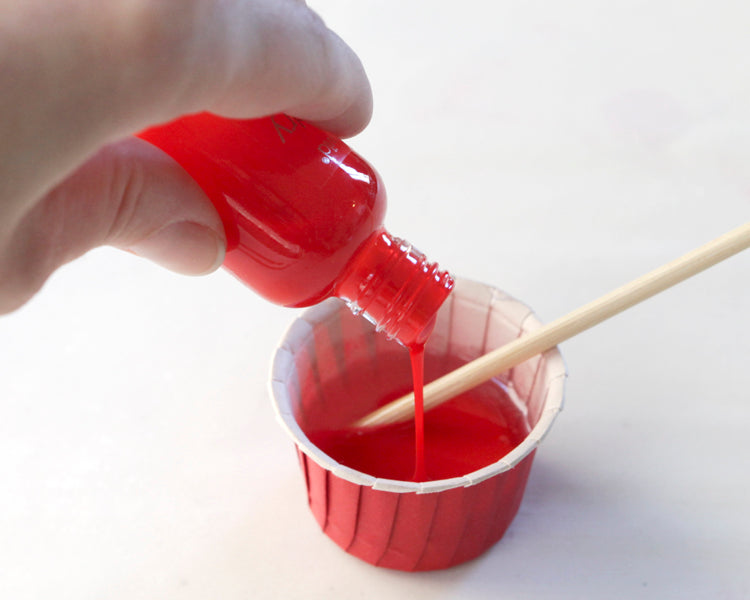
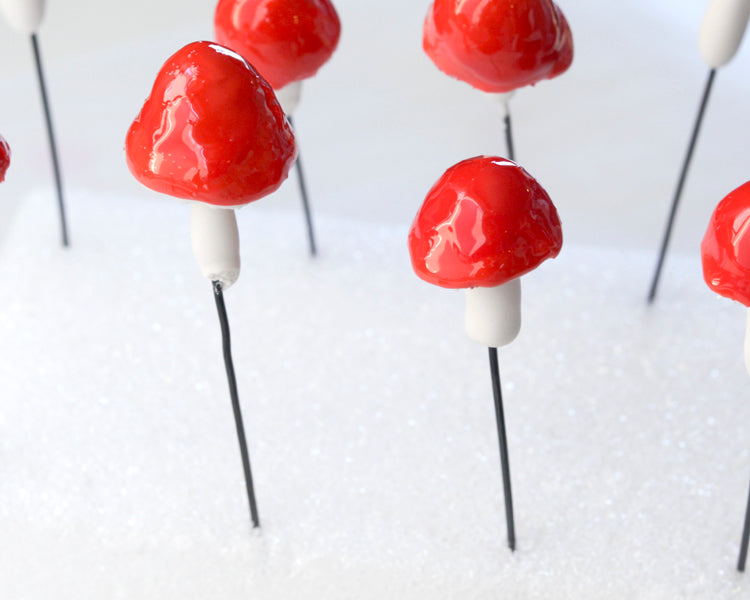
Step 6: There are several ways of making the caps red. Paint, of course, works fine. So does cheap red nail polish. I wanted my mushrooms to be extremely glossy, so I am using a clear epoxy resin mixed half and half with nail polish for color. For whatever method you choose, pour your color into a small container, and dip your mushrooms just covering the caps. Let all drips run off before setting them up to dry. If you are using resin, let them cure overnight before you put on the spots.
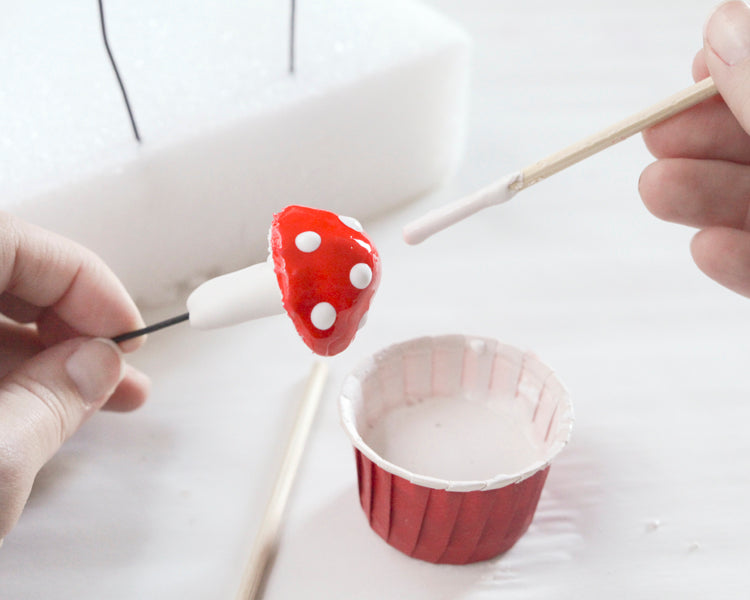
Step 7: Mix up a last batch of plaster, and use the flat end of a bamboo skewer to apply spots to the tops of the mushrooms. Let dry.
Voila! Fairy Garden German Style Plaster Mushrooms!
Love it? Share it! Pin:


