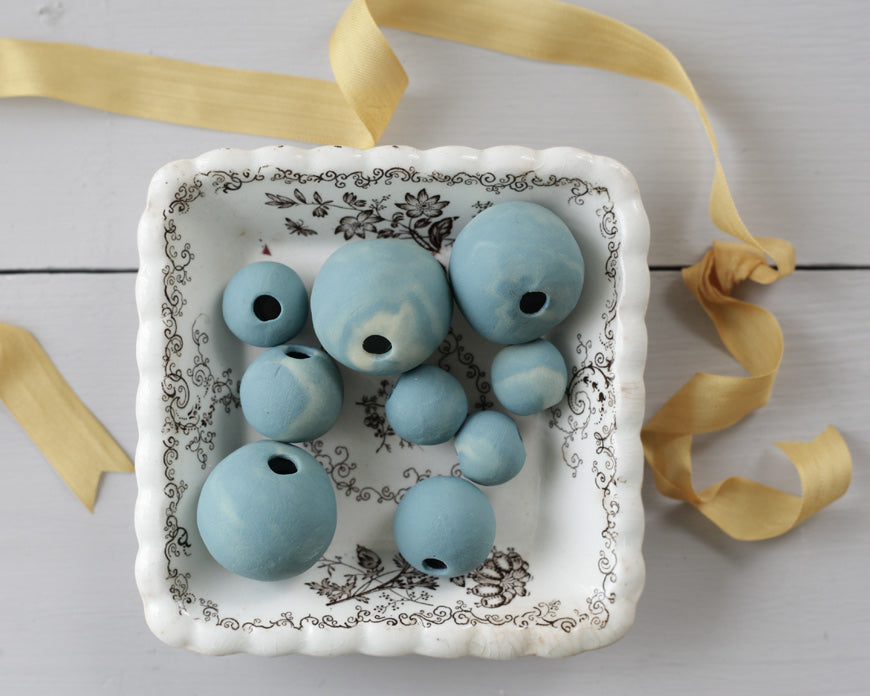
With this technique I'm making some fun marbled beads to string up on a ribbon. They are perfectly round and smooth, and it's great to be able to make larger beads that aren't crazy heavy when you wear them on a necklace.
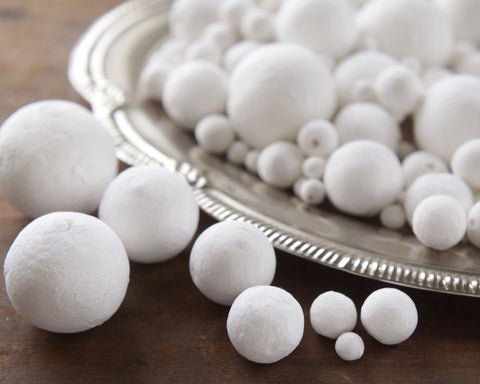
To make them I'll be covering spun cotton balls with polymer clay, baking them with the spun cotton inside, and then gradually removing the cotton through the holes afterwards.
Use a spun cotton ball just slightly smaller than the size of the finished bead you'd like to make.
Step 1: Mix together two colors of polymer clay
Twist and fold the clay, and then roll it between your hands to combine it. Stop before it becomes too mixed, because you're aiming for a marbled effect.
Step 2: Flatten it into a thin smooth strip.
Make the strip a little wider than the size of the spun cotton ball you're using.
Step 3: Coat a spun cotton ball with cooking spray.
This is an important step. If you don't coat the ball with something, then the cotton fibers will stick to the inside of the bead once it's baked, and will leave a furry residue behind. I just set the ball on some foil, and gave it a good spray of canola oil from the kitchen.
Step 4: Place the spun cotton ball on the clay, making sure not to cover the hole.
The hole should be facing out to the side. Spun cotton balls are made of a tightly wound spiral of fiber. By keeping the ball oriented with the "ends" facing the holes of your bead, it will be much, much easier to remove the cotton once the bead is baked.
When you have them aligned right, you can sometimes pull out entire strips of cotton, just making the process faster.
Roll up the ball, and tear off the excess clay.
Step 5: Press the clay around the ball, but leave a hole on either side.
This will let you keep track of the ends of the spun cotton ball, and also help reserve placement of your final bead's holes.
Step 6: Use a straw to cut out crisp holes on either side.
Then, roll the ball between your hands to perfect the spherical shape. Use the straw to tidy the holes once again.
Step 7: Bake according to the directions on the clay package.
Step 8: Soak the bead in water for 5 minutes.
Step 9: Use tweezers to pull out tufts of the cotton.
Just grab a little bit at a time, and gently tug the fiber out of the bead. Pull at it from both ends of the bead. When you get down to the last few bits, use a bamboo skewer to scrape the sides.
And that's it! Now you can thread them on to a lovely bit of ribbon, and create a whimsical necklace!
Buy spun cotton balls here:


